
2 月 . 11, 2025 02:03 Back to list
3rd gen 4runner brake drum removal
Removing the brake drum on a 3rd generation Toyota 4Runner, a classic SUV revered for its durability, involves a process that can seem daunting at first. However, with a methodical approach, you can execute this task with proficiency. This guide reflects my extensive hands-on experience with brake systems and aims to empower you with comprehensive knowledge, ensuring you feel confident and informed throughout the procedure.
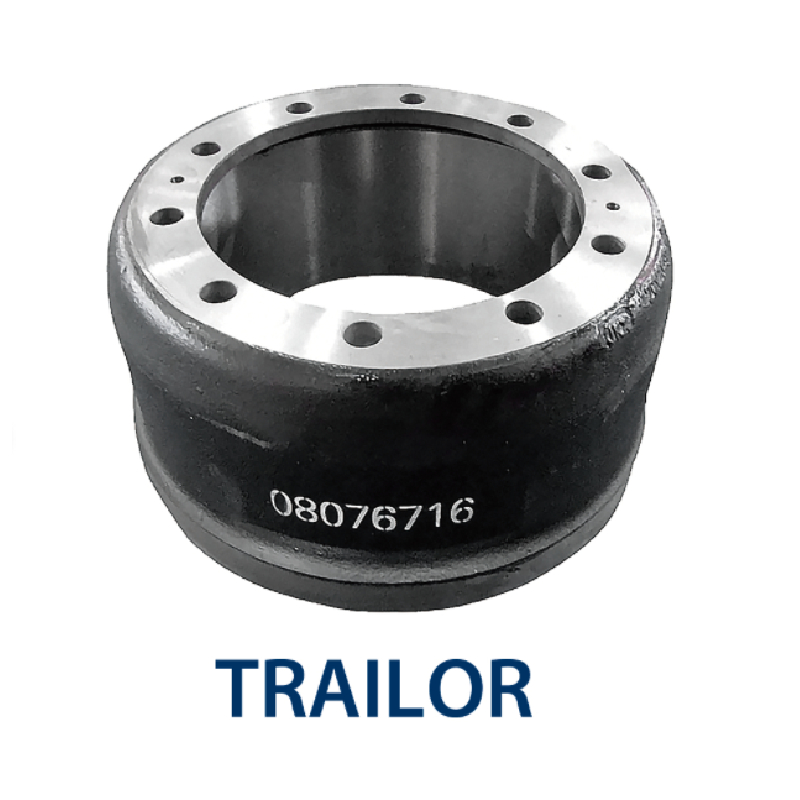
While removing the drum, take a moment to inspect its condition. A brake drum in good condition should have a smooth interior surface. Grooves, cracks, or severe wear can affect braking efficiency and indicate that replacement or machining is necessary. Pay attention to any unusual noise or vibration during driving, as these can also hint at drum irregularities. With the drum removed, you'll have the opportunity to examine the internal components. Inspect the brake shoes for wear and ensure they have sufficient material left. Checking the wheel cylinder for leaks or damage is equally important, as a malfunctioning cylinder can drastically affect brake performance. When it's time to reinstall the brake drum, ensure the contact surfaces are clean. A thin layer of anti-seize compound on the hub contact area can prevent future rust bonding, making future removals easier. Gently place the drum back onto the hub, ensuring it seats evenly. Reattach the wheel, lower your vehicle from the jack stands, and perform a series of brake tests in a controlled environment. Listen for any unusual sounds and check for a consistent pedal feel, adjusting the brake shoes if necessary to achieve optimal contact inside the drum. By following these detailed steps, not only do you complete the brake drum removal on your 3rd gen 4Runner with confidence, but you also ensure its continued performance and safety on the road. Whether you're a seasoned DIY mechanic or a novice, understanding this process enhances your expertise and trust in vehicle maintenance.
While removing the drum, take a moment to inspect its condition. A brake drum in good condition should have a smooth interior surface. Grooves, cracks, or severe wear can affect braking efficiency and indicate that replacement or machining is necessary. Pay attention to any unusual noise or vibration during driving, as these can also hint at drum irregularities. With the drum removed, you'll have the opportunity to examine the internal components. Inspect the brake shoes for wear and ensure they have sufficient material left. Checking the wheel cylinder for leaks or damage is equally important, as a malfunctioning cylinder can drastically affect brake performance. When it's time to reinstall the brake drum, ensure the contact surfaces are clean. A thin layer of anti-seize compound on the hub contact area can prevent future rust bonding, making future removals easier. Gently place the drum back onto the hub, ensuring it seats evenly. Reattach the wheel, lower your vehicle from the jack stands, and perform a series of brake tests in a controlled environment. Listen for any unusual sounds and check for a consistent pedal feel, adjusting the brake shoes if necessary to achieve optimal contact inside the drum. By following these detailed steps, not only do you complete the brake drum removal on your 3rd gen 4Runner with confidence, but you also ensure its continued performance and safety on the road. Whether you're a seasoned DIY mechanic or a novice, understanding this process enhances your expertise and trust in vehicle maintenance.
Latest news
-
Brake Drum for Kamaz Trucks Durable OEM Replacement & High Performance
NewsMay.30,2025
-
Brake Drum Man High-Quality Drum Brake & Shoe Solutions
NewsMay.30,2025
-
High-Performance Brake Drum for Kamaz Trucks Durable Drum Brake Components
NewsMay.29,2025
-
Brake Drum Man High-Quality Drum Brake Drums & Brake Shoes
NewsMay.29,2025
-
Brake Drum MAZ High-Performance & Durable Replacement Parts
NewsMay.29,2025
-
heavy truck brake drums
NewsMar.07,2025