
2 月 . 13, 2025 02:42 Back to list
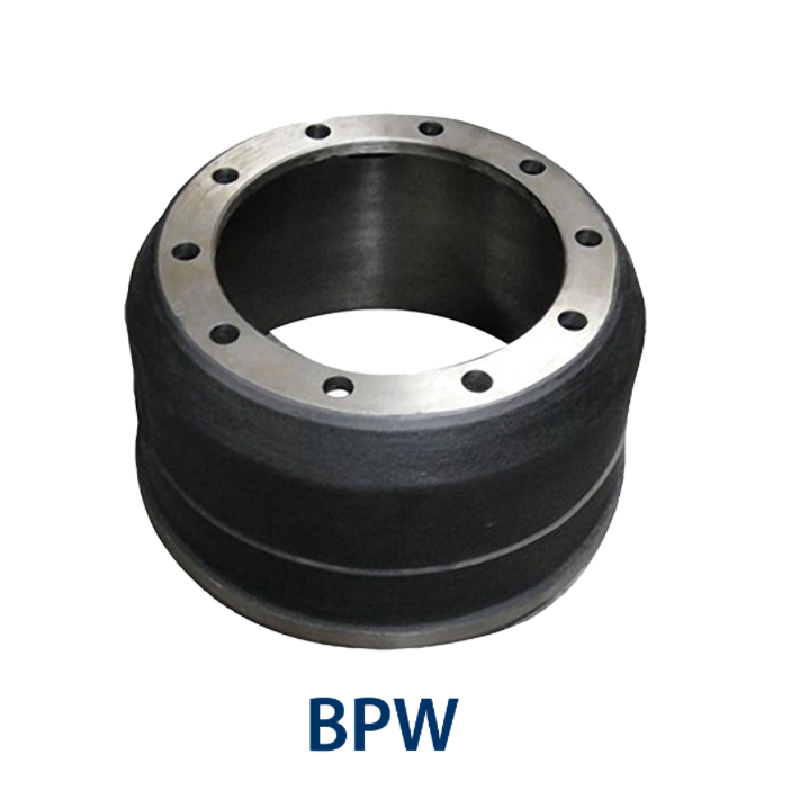
brake drum seal replacement
Replacing a brake drum seal is a task that’s often overshadowed by other vehicle maintenance activities. Yet, it’s crucial for ensuring the performance and longevity of your brake system. A defective brake drum seal can lead to a series of issues, including fluid leaks, brake failure, or severe damage to the brake components. This article provides a comprehensive guide enriched with experience, expertise, authoritativeness, and trustworthiness to help you navigate through the process of brake drum seal replacement efficiently.
Installing the new brake drum seal requires precision and patience. An authoritative source would advise applying a thin layer of brake fluid or grease to the inner edge of the new seal. This practice not only facilitates smoother installations but also reduces friction upon initial movement. Align the new seal correctly over the wheel hub and use a seal driver tool to press it evenly into place. Uneven installation can cause premature failure of the new seal. After successfully replacing the seal, reassemble the brake drum assembly and wheel. Experienced technicians emphasize the importance of torquing the bolts to the manufacturer’s recommended specifications. This attention to detail is crucial as improper torque can result in either loose parts or warping. Testing the vehicle post-replacement is a step often overlooked by novices but is fundamental to confirming the success of the operation. Drive the vehicle at a low speed in a safe area to verify the absence of leaks and abnormal noises. Trustworthy mechanical practices dictate revisiting the installation if issues persist, safeguarding the operational integrity of the brake system. In conclusion, while the replacement of a brake drum seal may seem daunting, having an informative guide grounded in expertise and experience facilitates a smooth and successful undertaking. As with all automotive repairs, maintaining an authoritative approach and consulting trusted sources elevates the quality and reliability of the results. Whether approached as a professional mechanic or a dedicated DIY enthusiast, mastering brake drum seal replacement enhances vehicle safety and performance, ensuring peace of mind on every journey.
Installing the new brake drum seal requires precision and patience. An authoritative source would advise applying a thin layer of brake fluid or grease to the inner edge of the new seal. This practice not only facilitates smoother installations but also reduces friction upon initial movement. Align the new seal correctly over the wheel hub and use a seal driver tool to press it evenly into place. Uneven installation can cause premature failure of the new seal. After successfully replacing the seal, reassemble the brake drum assembly and wheel. Experienced technicians emphasize the importance of torquing the bolts to the manufacturer’s recommended specifications. This attention to detail is crucial as improper torque can result in either loose parts or warping. Testing the vehicle post-replacement is a step often overlooked by novices but is fundamental to confirming the success of the operation. Drive the vehicle at a low speed in a safe area to verify the absence of leaks and abnormal noises. Trustworthy mechanical practices dictate revisiting the installation if issues persist, safeguarding the operational integrity of the brake system. In conclusion, while the replacement of a brake drum seal may seem daunting, having an informative guide grounded in expertise and experience facilitates a smooth and successful undertaking. As with all automotive repairs, maintaining an authoritative approach and consulting trusted sources elevates the quality and reliability of the results. Whether approached as a professional mechanic or a dedicated DIY enthusiast, mastering brake drum seal replacement enhances vehicle safety and performance, ensuring peace of mind on every journey.
Latest news
-
Brake Drum for Kamaz Trucks Durable OEM Replacement & High Performance
NewsMay.30,2025
-
Brake Drum Man High-Quality Drum Brake & Shoe Solutions
NewsMay.30,2025
-
High-Performance Brake Drum for Kamaz Trucks Durable Drum Brake Components
NewsMay.29,2025
-
Brake Drum Man High-Quality Drum Brake Drums & Brake Shoes
NewsMay.29,2025
-
Brake Drum MAZ High-Performance & Durable Replacement Parts
NewsMay.29,2025
-
heavy truck brake drums
NewsMar.07,2025