9 月 . 13, 2024 07:21 Back to list
how to get rear brake drum off
How to Get the Rear Brake Drum Off A Step-by-Step Guide
Removing the rear brake drum from your vehicle is a critical maintenance task that can seem daunting if you’ve never done it before. However, with the right tools and a bit of patience, you can successfully complete this task. Here’s a step-by-step guide to help you through the process.
Tools and Materials Needed
Before you begin, gather the necessary tools and materials
- Safety goggles and gloves - Jack and jack stands - Lug wrench - Brake drum puller (if needed) - Screwdrivers (flathead and Phillips) - Pliers - Brake cleaner - Brake grease
Step 1 Safety First
Before you start any work on your vehicle, ensure that you’re in a safe environment. Park the vehicle on a level surface and engage the parking brake. Wear safety goggles and gloves to protect yourself.
Step 2 Raise the Vehicle
Using a lug wrench, loosen the lug nuts on the rear wheels, but do not remove them completely. Next, use a jack to raise the rear of the vehicle and place jack stands under the frame for support. Once secure, remove the lug nuts and take off the wheel to expose the brake drum.
Step 3 Inspect the Brake Configuration
Once the wheel is off, inspect the brake assembly. Familiarize yourself with the components, including the brake shoes, adjuster, and springs. Understanding how these parts interact will be beneficial when reassembling.
how to get rear brake drum off

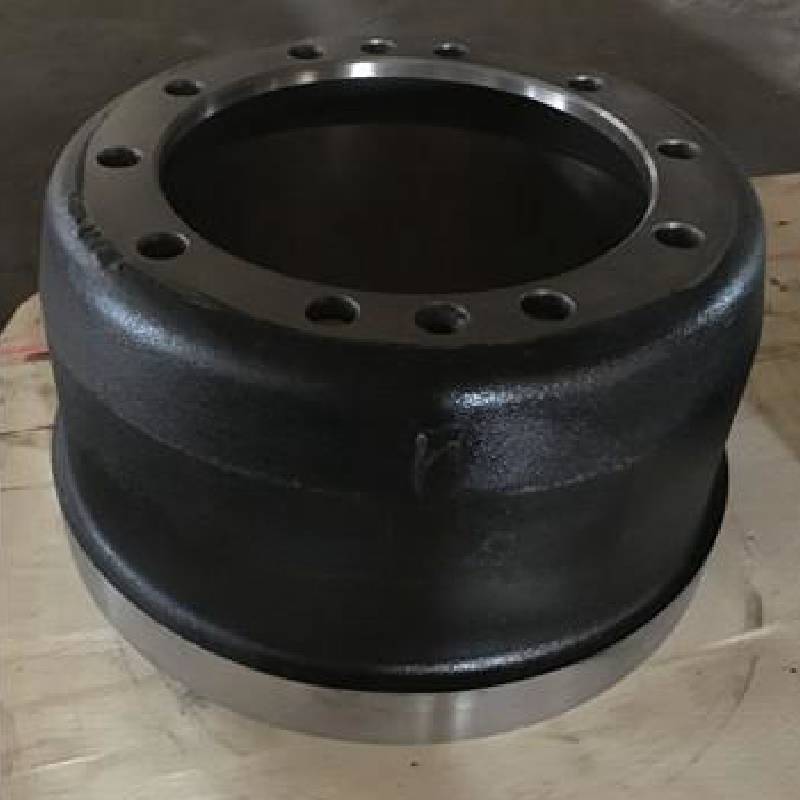
Step 4 Remove the Brake Drum
In many cases, the brake drum may be stuck due to surface rust or debris. If it doesn’t come off easily after being pulled, you can try the following
1. Inspect the Adjuster Look for the brake adjuster mechanism, which is usually a star wheel. Turn this to reduce the brake shoe position, allowing the drum to slide off more easily. 2. Use a Hammer Gently tap around the drum’s edge with a rubber mallet to loosen it. Be careful not to hit too hard, as this could damage the drum or brake components.
3. Brake Drum Puller If the drum still refuses to budge, consider using a brake drum puller. This tool can provide the necessary leverage to remove the drum without causing damage.
Step 5 Clean and Inspect
Once the drum is off, take the opportunity to clean the inside with brake cleaner and inspect the brake shoes for wear. Check the condition of the drum itself; grooves or deep scoring may indicate that it needs to be replaced or machined.
Step 6 Reassembly
To reassemble, replace or resurface the brake drum as necessary. Align the drum with the brake shoes and slide it back on. Adjust the shoes, remount the wheel, and secure the lug nuts. Finally, lower the vehicle and ensure everything is tight and secure.
Conclusion
Removing the rear brake drum is a manageable task that can save you money on repairs. By following these steps carefully, you can not only gain a better understanding of your vehicle's brake system but also enhance your mechanical skills. Remember, if you ever feel uncertain during the process, consult a professional mechanic for guidance. Happy driving!
-
Brake Drum for Kamaz Trucks Durable OEM Replacement & High Performance
NewsMay.30,2025
-
Brake Drum Man High-Quality Drum Brake & Shoe Solutions
NewsMay.30,2025
-
High-Performance Brake Drum for Kamaz Trucks Durable Drum Brake Components
NewsMay.29,2025
-
Brake Drum Man High-Quality Drum Brake Drums & Brake Shoes
NewsMay.29,2025
-
Brake Drum MAZ High-Performance & Durable Replacement Parts
NewsMay.29,2025
-
heavy truck brake drums
NewsMar.07,2025
