12 月 . 04, 2024 16:21 Back to list
how to adjust brake drums on cars
How to Adjust Brake Drums on Cars A Comprehensive Guide
Brake systems are crucial for ensuring the safety and performance of any vehicle. While modern cars often come equipped with disc brakes, many older models still utilize brake drums, which require periodic adjustments for optimal performance. In this article, we will explore the steps to adjust brake drums on cars, ensuring you maintain safe and effective braking.
Understanding Brake Drums
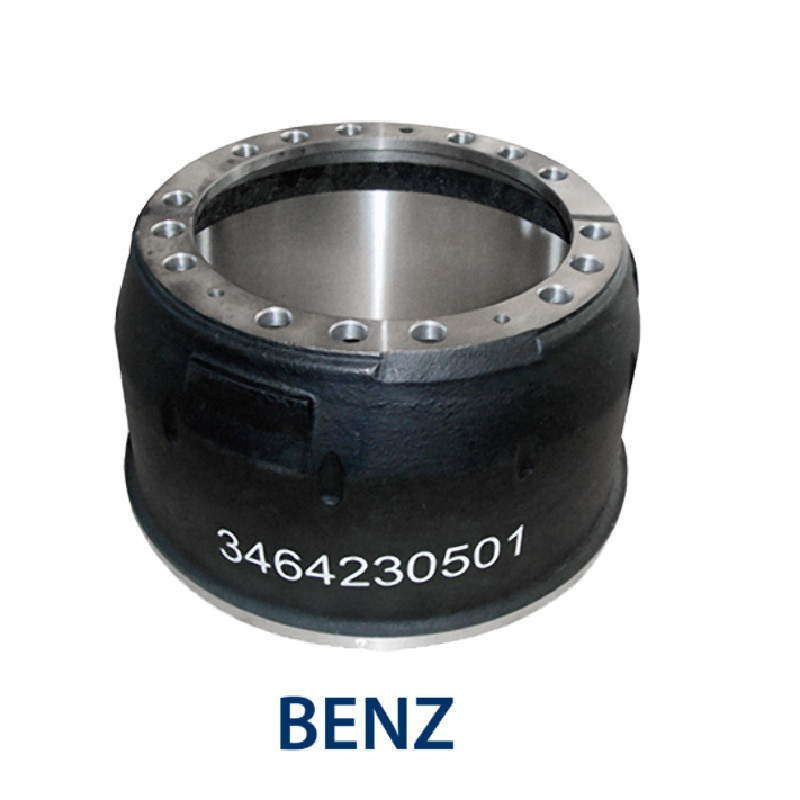
Brake drums work by using friction to slow down or stop a vehicle. When the brake pedal is pressed, hydraulic pressure forces the brake shoes against the inner surface of the drum, creating friction that slows the wheel's rotation. Over time, brake shoes can wear down, and the drums themselves can become out of alignment or improperly adjusted, leading to reduced braking efficiency and an increased risk of brake failure.
Tools and Materials Needed
Before beginning the adjustment process, gather the necessary tools
- Jack and jack stands - Lug wrench - Brake drum adjusting tool or a flathead screwdriver - Torque wrench - Brake cleaner - Safety goggles and gloves
Steps for Adjusting Brake Drums
1. Preparation and Safety First - Park the car on a level surface and engage the parking brake. - For additional safety, wear gloves and safety goggles to protect against any brake dust or debris.
2. Lifting the Vehicle - Using the jack, lift the rear (or front, depending on where the drum brakes are located) of the vehicle and securely place jack stands underneath to support it.
how to adjust brake drums on cars

3. Removing the Wheel - Use a lug wrench to remove the lug nuts and carefully take off the wheel. Place the wheel aside in a safe location.
4. Inspecting the Brake Drum - Once the wheel is removed, inspect the brake drum for any visible signs of wear or damage. If the drum is severely worn or cracked, it may need to be replaced instead of simply adjusted.
5. Accessing the Brake Assembly - If there is a dust cover on the drum, remove it to access the brake assembly. Check that all components, including brake shoes and springs, are in good condition.
6. Adjusting Brake Shoes - Locate the adjusting screw or star wheel mechanism, which is usually found at the bottom of the brake assembly. - To adjust the shoes, use a brake drum adjusting tool or a flathead screwdriver to turn the adjuster. Turn it clockwise to tighten (increase the shoe clearance) and counterclockwise to loosen (decrease the shoe clearance). - Rotate the adjuster until the shoes lightly contact the drum—there should be a slight drag when you spin the drum by hand.
7. Reinstalling the Brake Drum - Once the shoes are properly adjusted, carefully place the brake drum back over the shoes. If the drum does not fit easily, it may be an indication that the shoes are too close and need further adjustment.
8. Reattaching the Wheel - With the drum in place, reattach the wheel, securing it with the lug nuts. Use a torque wrench to tighten the nuts to the manufacturer’s recommended specifications.
9. Lowering the Vehicle - Remove the jack stands and slowly lower your vehicle back to the ground.
10. Testing Your Brakes - Before driving, press the brake pedal several times to ensure the shoes seat properly against the drum. Then, take your car for a short test drive to confirm that the brakes are functioning correctly.
Conclusion
Adjusting brake drums is a vital skill for car maintenance that can enhance braking performance and ensure safety on the road. Regular inspection and adjustment of brake drums can help extend their lifespan and prevent costly repairs down the line. If you're uncomfortable performing the adjustment yourself or if issues persist after the adjustment, consult a professional mechanic for a thorough inspection. Taking proactive measures with your brake system will not only ensure your safety but also enhance the overall performance and reliability of your vehicle.
-
Brake Drum for Kamaz Trucks Durable OEM Replacement & High Performance
NewsMay.30,2025
-
Brake Drum Man High-Quality Drum Brake & Shoe Solutions
NewsMay.30,2025
-
High-Performance Brake Drum for Kamaz Trucks Durable Drum Brake Components
NewsMay.29,2025
-
Brake Drum Man High-Quality Drum Brake Drums & Brake Shoes
NewsMay.29,2025
-
Brake Drum MAZ High-Performance & Durable Replacement Parts
NewsMay.29,2025
-
heavy truck brake drums
NewsMar.07,2025
