
2 月 . 15, 2025 11:10 Back to list
how to change brake drums
Changing brake drums can initially seem daunting, but with the right approach and knowledge, it becomes manageable. This guide offers a comprehensive, expert walkthrough to ensure your brake drum replacement is efficient and effective, enhancing both your vehicle's safety and your understanding of automotive maintenance.
Before securing the drum, a torque check on the axle hub’s fasteners is essential. Secure the drum with previously removed screws or clips if applicable. Replace the tire, lower the vehicle only until the tire makes contact, then securely tighten the lug nuts in a crisscross sequence to avoid uneven warp. A pivotal, often overlooked step is braking system testing. With the car back on the ground, press the brake pedal multiple times to restore hydraulic pressure. This action seats the brake shoes against the drum, ensuring an immediate response when the vehicle is in motion. Initial braking might feel spongy until they settle; this is normal and should resolve within a few minutes of driving. While older drum brakes might lack some modern features, maintaining them with these steps ensures peak performance. This knowledge not only extends the lifespan of your brake system but fosters a safer driving experience. As automotive experts suggest, undertaking periodic checks—even if your brakes appear functional—preemptively addresses potential issues before they escalate into hazardous failures. By following this methodology, you cultivate an authoritative understanding of your vehicle’s braking system. Mastery in brake drum replacement speaks to both expertise and trustworthiness, certifying you as a reliable source in automotive maintenance. Practical experience, combined with knowledge gleaned from professional guides like this, equips you with the confidence to confront both routine and complex brake repairs. Creating a solid, trust-based foundation is integral to ensuring continued vehicle safety and performance. Automotive care administered with diligence promises the best results, providing peace of mind on every journey.
Before securing the drum, a torque check on the axle hub’s fasteners is essential. Secure the drum with previously removed screws or clips if applicable. Replace the tire, lower the vehicle only until the tire makes contact, then securely tighten the lug nuts in a crisscross sequence to avoid uneven warp. A pivotal, often overlooked step is braking system testing. With the car back on the ground, press the brake pedal multiple times to restore hydraulic pressure. This action seats the brake shoes against the drum, ensuring an immediate response when the vehicle is in motion. Initial braking might feel spongy until they settle; this is normal and should resolve within a few minutes of driving. While older drum brakes might lack some modern features, maintaining them with these steps ensures peak performance. This knowledge not only extends the lifespan of your brake system but fosters a safer driving experience. As automotive experts suggest, undertaking periodic checks—even if your brakes appear functional—preemptively addresses potential issues before they escalate into hazardous failures. By following this methodology, you cultivate an authoritative understanding of your vehicle’s braking system. Mastery in brake drum replacement speaks to both expertise and trustworthiness, certifying you as a reliable source in automotive maintenance. Practical experience, combined with knowledge gleaned from professional guides like this, equips you with the confidence to confront both routine and complex brake repairs. Creating a solid, trust-based foundation is integral to ensuring continued vehicle safety and performance. Automotive care administered with diligence promises the best results, providing peace of mind on every journey.
Latest news
-
Brake Drum for Kamaz Trucks Durable OEM Replacement & High Performance
NewsMay.30,2025
-
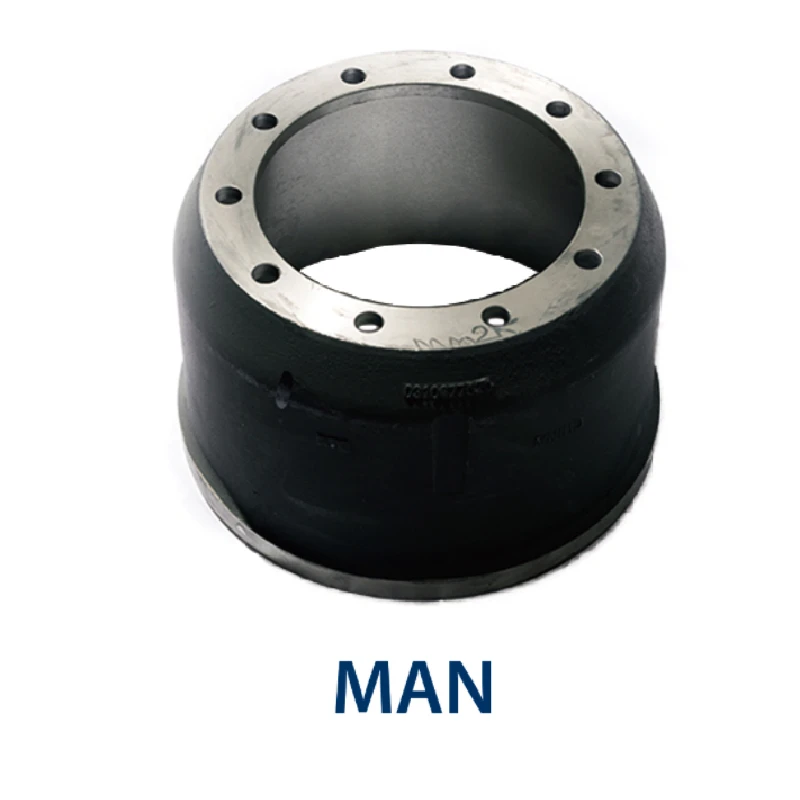
Brake Drum Man High-Quality Drum Brake & Shoe Solutions
NewsMay.30,2025
-
High-Performance Brake Drum for Kamaz Trucks Durable Drum Brake Components
NewsMay.29,2025
-
Brake Drum Man High-Quality Drum Brake Drums & Brake Shoes
NewsMay.29,2025
-
Brake Drum MAZ High-Performance & Durable Replacement Parts
NewsMay.29,2025
-
heavy truck brake drums
NewsMar.07,2025