
2 月 . 14, 2025 07:17 Back to list
how to determine brake drum size
Determining the size of a brake drum is a task that requires attention to detail, a proper understanding of automotive components, and a degree of mechanical aptitude. For vehicle enthusiasts and DIY mechanics, this process can be highly rewarding, ensuring that your vehicle maintains peak performance and safety. This guide will delve into the various aspects of determining brake drum size, enhancing your expertise, authority, and trust in automotive maintenance.
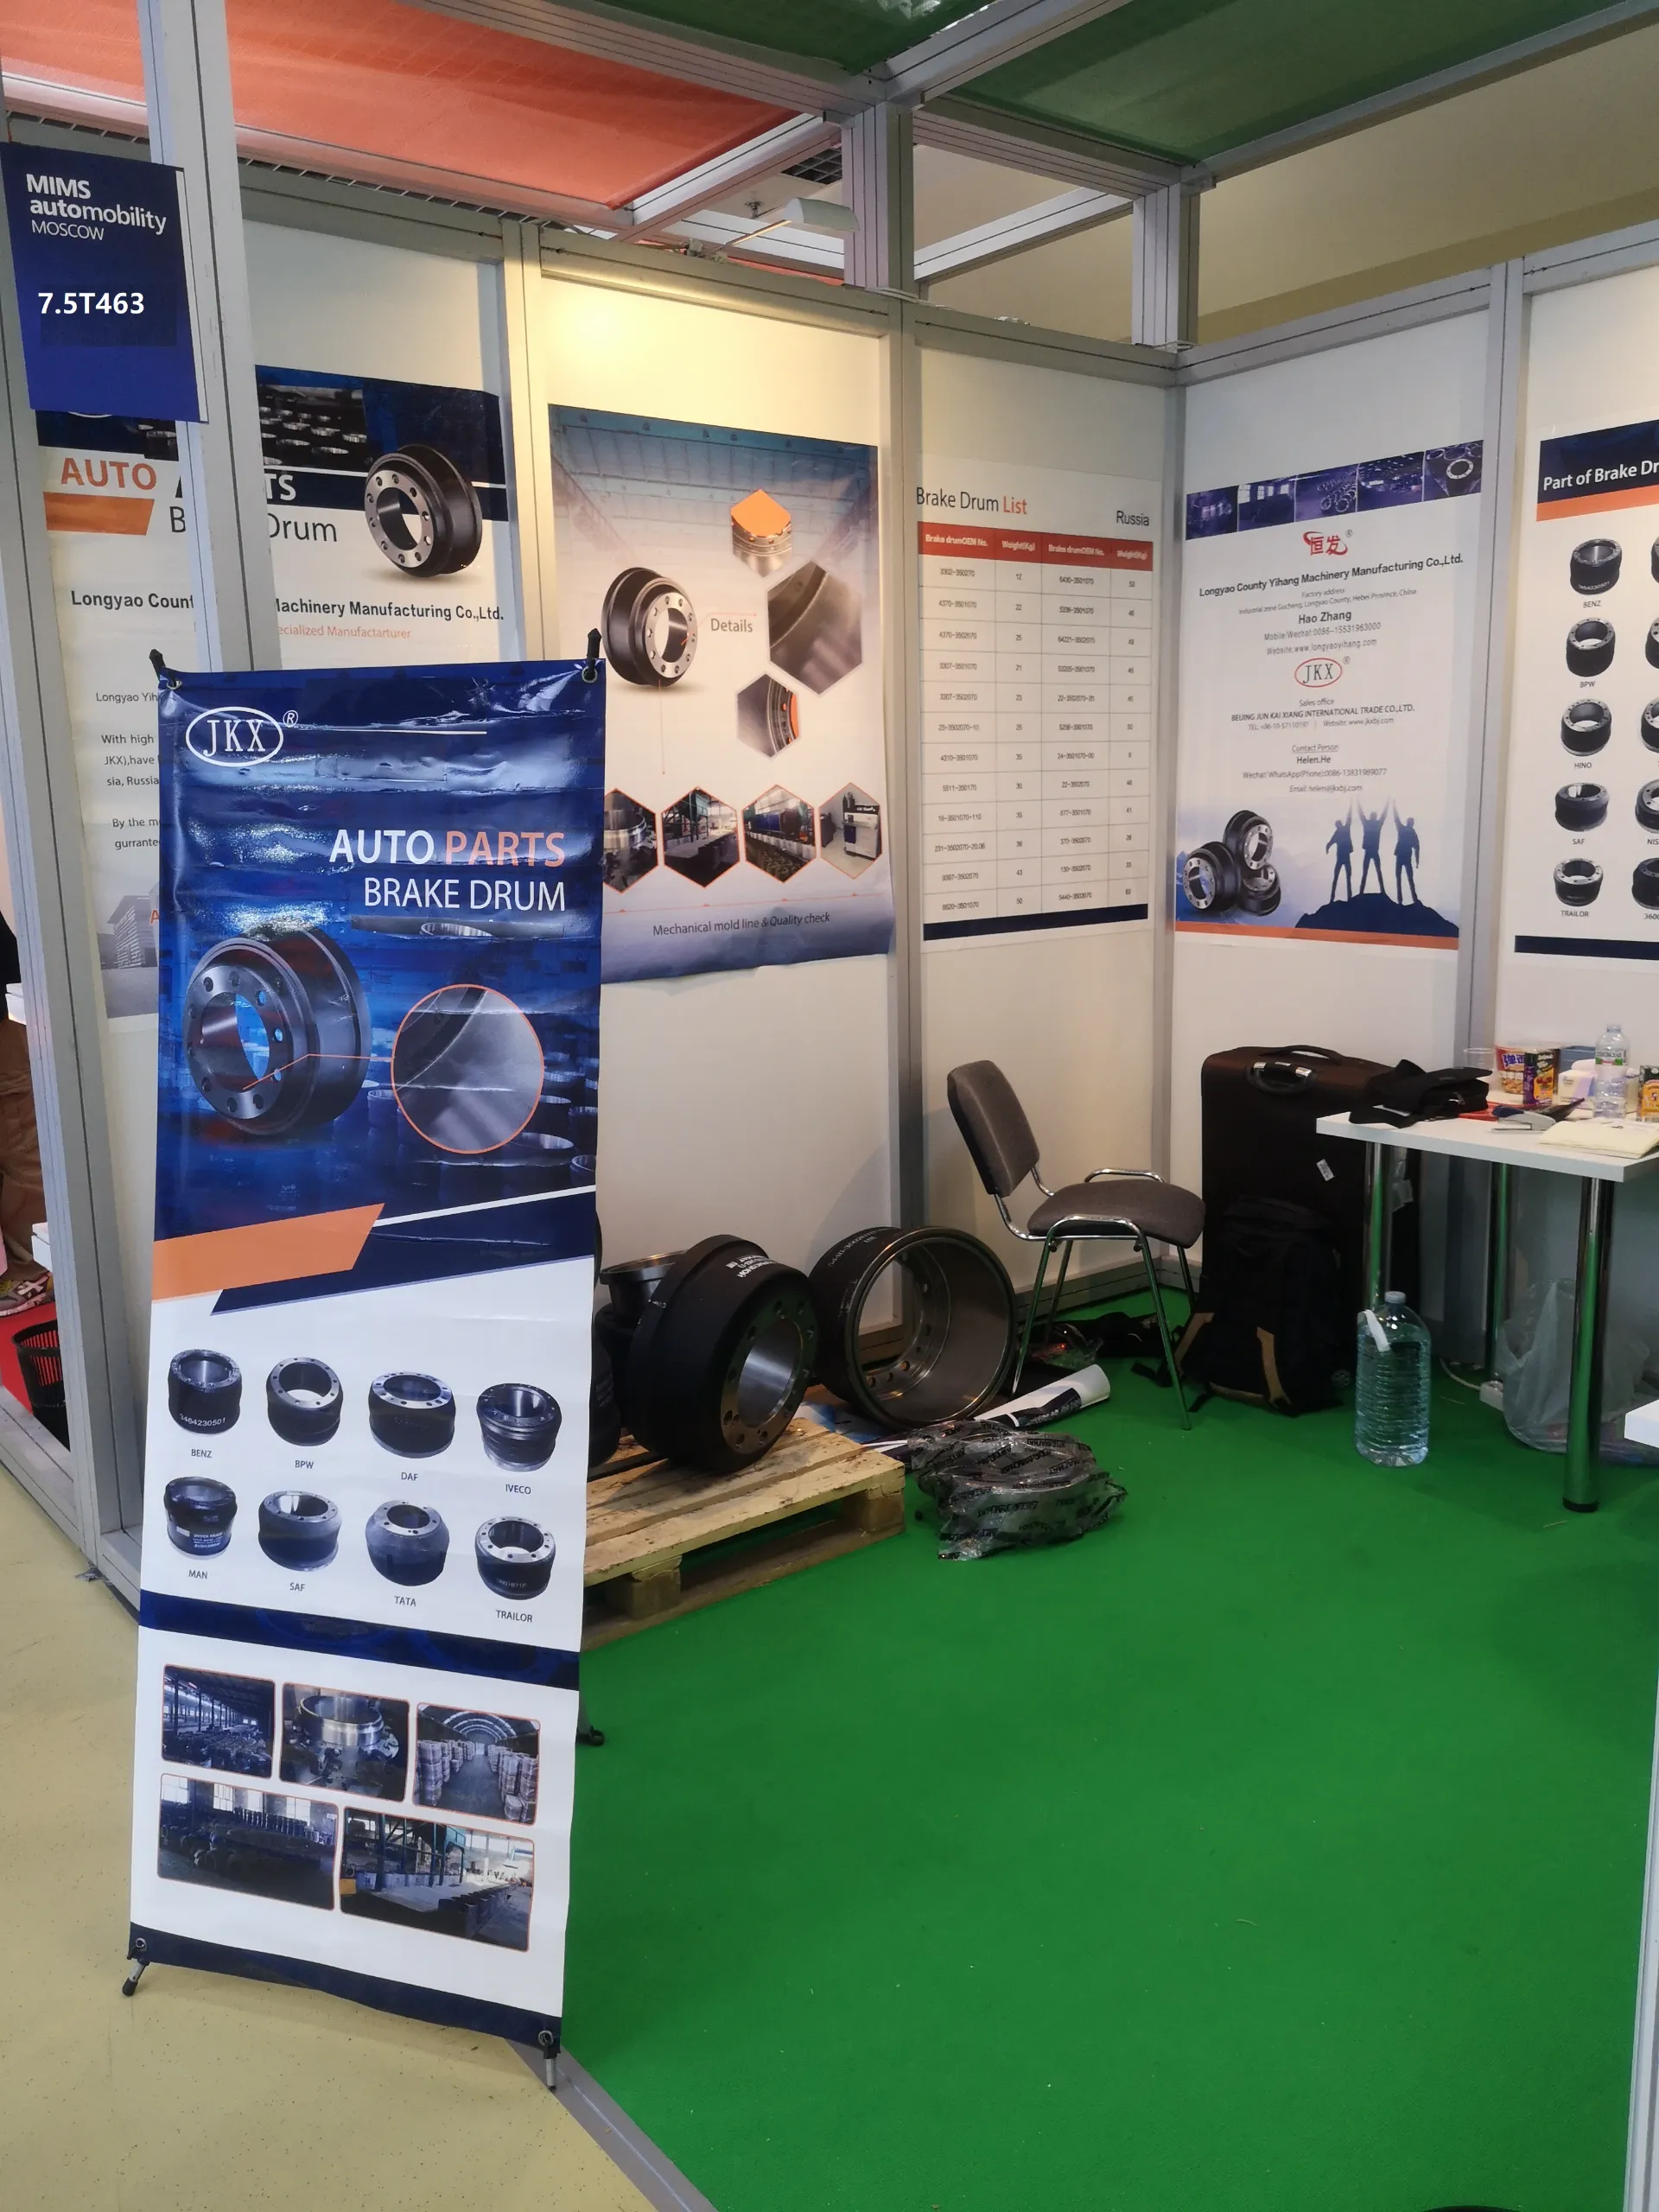
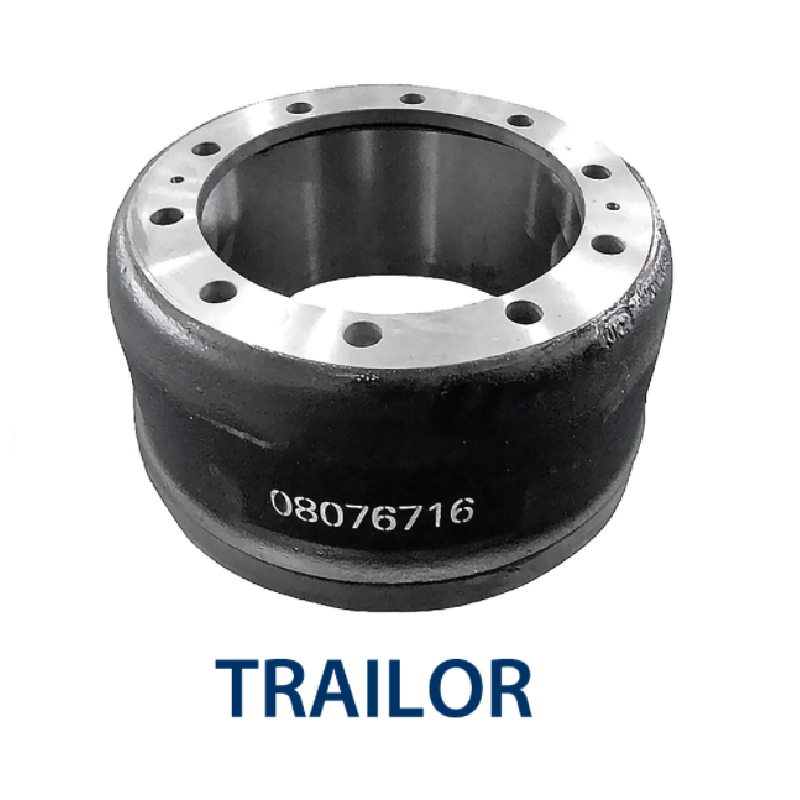
The inside diameter is critical for identifying if the drum is still within the acceptable wear limits. Manufacturers typically stamp the maximum diameter on the drum, and your readings should not exceed this number. If the diameter is beyond the specified limit, the drum must be replaced immediately to prevent brake failure. Another vital measurement is the drum's width. With your measuring tool, measure across the face of the drum, which will help you discern the correct part for your vehicle make and model. Record this measurement accurately. Beyond measurements, visually inspect the drum for signs of wear such as scoring, cracking, or glazing. Deep grooves or visible damage are indicators that the drum no longer performs optimally and should be replaced. This proactive inspection enforces trust through meticulous vehicle care. For those unsure about measurements or assessments, consider consulting with an automotive professional. Expertise from seasoned mechanics can offer insights, particularly on peculiar drum designs or advanced wear signs that might elude novices. Lastly, once you've completed measuring and inspecting, replace the drum or reassemble the brake system, confirming that everything is torqued to the manufacturer's specifications. Precision in reassembly underscores reliability in your vehicle's braking performance. In conclusion, determining brake drum size is not just a matter of measurement; it is a deep dive into the integrity and safety of your vehicle. By approaching this task with expertise and a keen eye for detail, you fortify your vehicle maintenance skills, resulting in a trustworthy, authoritative understanding of automotive care.
The inside diameter is critical for identifying if the drum is still within the acceptable wear limits. Manufacturers typically stamp the maximum diameter on the drum, and your readings should not exceed this number. If the diameter is beyond the specified limit, the drum must be replaced immediately to prevent brake failure. Another vital measurement is the drum's width. With your measuring tool, measure across the face of the drum, which will help you discern the correct part for your vehicle make and model. Record this measurement accurately. Beyond measurements, visually inspect the drum for signs of wear such as scoring, cracking, or glazing. Deep grooves or visible damage are indicators that the drum no longer performs optimally and should be replaced. This proactive inspection enforces trust through meticulous vehicle care. For those unsure about measurements or assessments, consider consulting with an automotive professional. Expertise from seasoned mechanics can offer insights, particularly on peculiar drum designs or advanced wear signs that might elude novices. Lastly, once you've completed measuring and inspecting, replace the drum or reassemble the brake system, confirming that everything is torqued to the manufacturer's specifications. Precision in reassembly underscores reliability in your vehicle's braking performance. In conclusion, determining brake drum size is not just a matter of measurement; it is a deep dive into the integrity and safety of your vehicle. By approaching this task with expertise and a keen eye for detail, you fortify your vehicle maintenance skills, resulting in a trustworthy, authoritative understanding of automotive care.
Latest news
-
Brake Drum for Kamaz Trucks Durable OEM Replacement & High Performance
NewsMay.30,2025
-
Brake Drum Man High-Quality Drum Brake & Shoe Solutions
NewsMay.30,2025
-
High-Performance Brake Drum for Kamaz Trucks Durable Drum Brake Components
NewsMay.29,2025
-
Brake Drum Man High-Quality Drum Brake Drums & Brake Shoes
NewsMay.29,2025
-
Brake Drum MAZ High-Performance & Durable Replacement Parts
NewsMay.29,2025
-
heavy truck brake drums
NewsMar.07,2025