
2 月 . 16, 2025 08:49 Back to list
how to get brake drum off
Removing a brake drum can seem daunting, but with a comprehensive guide, anyone can handle this automotive task effectively. Achieving optimal performance in brake systems requires not only technical expertise but also a commitment to safety and precision.
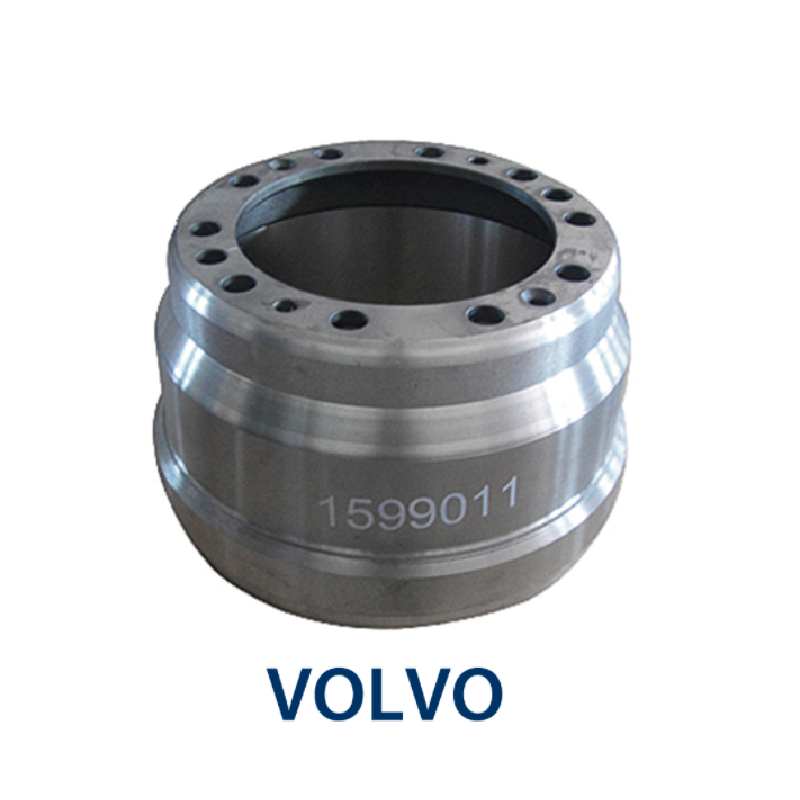
Once removed, take a moment to inspect the drum. Look for wear, cracks, or scoring, as these could indicate the need for a replacement. It's an essential step for maintaining optimal brake performance. Regular inspections promote not only efficiency but also safety. Guided by precision and proper technique, reassemble the components carefully. Begin by reinstalling the drum, ensuring it sits evenly. Replace the wheel and hand-tighten the lug nuts. Remove the stands, lower the vehicle, and then fully tighten the lug nuts to ensure security. For those passionate about vehicle maintenance, understanding how to remove a brake drum is a valuable skill. It's a practice that enhances one's connection with their vehicle, fostering a sense of empowerment and responsibility. It intertwines automotive care with precision and safety, elements pivotal for any vehicle enthusiast. Lastly, maintaining credibility requires awareness of when to consult a professional. While this guide provides a thorough foundation, certain complexities might arise that require expert intervention. The balance of self-reliance and professional guidance ensures that vehicle safety and performance remain uncompromised. Remember, handling brake systems with care not only enhances vehicle longevity but also secures a safer driving experience. Embrace the process as an opportunity for learning and growth, knowing that each step taken reinforces not only your vehicle's integrity but also your own expertise in vehicle maintenance.
Once removed, take a moment to inspect the drum. Look for wear, cracks, or scoring, as these could indicate the need for a replacement. It's an essential step for maintaining optimal brake performance. Regular inspections promote not only efficiency but also safety. Guided by precision and proper technique, reassemble the components carefully. Begin by reinstalling the drum, ensuring it sits evenly. Replace the wheel and hand-tighten the lug nuts. Remove the stands, lower the vehicle, and then fully tighten the lug nuts to ensure security. For those passionate about vehicle maintenance, understanding how to remove a brake drum is a valuable skill. It's a practice that enhances one's connection with their vehicle, fostering a sense of empowerment and responsibility. It intertwines automotive care with precision and safety, elements pivotal for any vehicle enthusiast. Lastly, maintaining credibility requires awareness of when to consult a professional. While this guide provides a thorough foundation, certain complexities might arise that require expert intervention. The balance of self-reliance and professional guidance ensures that vehicle safety and performance remain uncompromised. Remember, handling brake systems with care not only enhances vehicle longevity but also secures a safer driving experience. Embrace the process as an opportunity for learning and growth, knowing that each step taken reinforces not only your vehicle's integrity but also your own expertise in vehicle maintenance.
Latest news
-
Brake Drum for Kamaz Trucks Durable OEM Replacement & High Performance
NewsMay.30,2025
-
Brake Drum Man High-Quality Drum Brake & Shoe Solutions
NewsMay.30,2025
-
High-Performance Brake Drum for Kamaz Trucks Durable Drum Brake Components
NewsMay.29,2025
-
Brake Drum Man High-Quality Drum Brake Drums & Brake Shoes
NewsMay.29,2025
-
Brake Drum MAZ High-Performance & Durable Replacement Parts
NewsMay.29,2025
-
heavy truck brake drums
NewsMar.07,2025