
2 月 . 15, 2025 21:41 Back to list
how to remove a stuck rear brake drum
Removing a stuck rear brake drum can be a daunting task, yet with the right tools and guidance, you can tackle this challenge effectively. It's crucial to emphasize the importance of safety when undertaking this repair. Always ensure that the vehicle is securely lifted and supported before attempting any work.
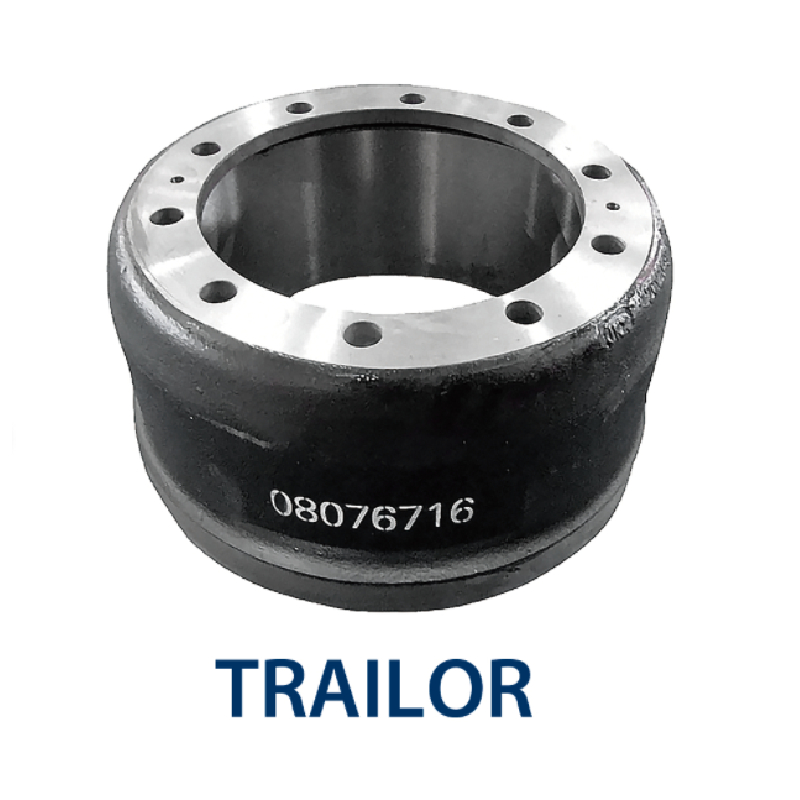
If the drum resists removal using a puller, it's possible that the brake shoes are holding it in place due to wear. In this scenario, access the adjuster through the brake’s access hole located on the drum's backing plate. By turning the adjuster wheel, you can retract the brake shoes, ideally freeing the drum. Precision and patience are key during this step to avoid any complications. Once you successfully remove the brake drum, inspect it for wear or damage. Drums showing significant scoring or other forms of damage may require replacement to ensure safe vehicle operation. Additionally, examine the brake components for signs of wear or necessary maintenance. Regular checks can prevent the issue of stuck drums in the future. Finally, once maintenance or replacement is complete, reassemble the components by reversing the removal process. Ensure all components are secured to avoid brake malfunction. Test the brakes in a safe, controlled environment to confirm correct operation before regular use. These practical steps combine expert recommendations with real-world experience to address the challenge of removing a stuck rear brake drum effectively. Through careful application of technique and safety precautions, you can save both time and resources, avoiding trips to the mechanic for your vehicle's maintenance needs.
If the drum resists removal using a puller, it's possible that the brake shoes are holding it in place due to wear. In this scenario, access the adjuster through the brake’s access hole located on the drum's backing plate. By turning the adjuster wheel, you can retract the brake shoes, ideally freeing the drum. Precision and patience are key during this step to avoid any complications. Once you successfully remove the brake drum, inspect it for wear or damage. Drums showing significant scoring or other forms of damage may require replacement to ensure safe vehicle operation. Additionally, examine the brake components for signs of wear or necessary maintenance. Regular checks can prevent the issue of stuck drums in the future. Finally, once maintenance or replacement is complete, reassemble the components by reversing the removal process. Ensure all components are secured to avoid brake malfunction. Test the brakes in a safe, controlled environment to confirm correct operation before regular use. These practical steps combine expert recommendations with real-world experience to address the challenge of removing a stuck rear brake drum effectively. Through careful application of technique and safety precautions, you can save both time and resources, avoiding trips to the mechanic for your vehicle's maintenance needs.
Latest news
-
Brake Drum for Kamaz Trucks Durable OEM Replacement & High Performance
NewsMay.30,2025
-
Brake Drum Man High-Quality Drum Brake & Shoe Solutions
NewsMay.30,2025
-
High-Performance Brake Drum for Kamaz Trucks Durable Drum Brake Components
NewsMay.29,2025
-
Brake Drum Man High-Quality Drum Brake Drums & Brake Shoes
NewsMay.29,2025
-
Brake Drum MAZ High-Performance & Durable Replacement Parts
NewsMay.29,2025
-
heavy truck brake drums
NewsMar.07,2025