
2 月 . 14, 2025 13:30 Back to list
how to remove seized brake drum
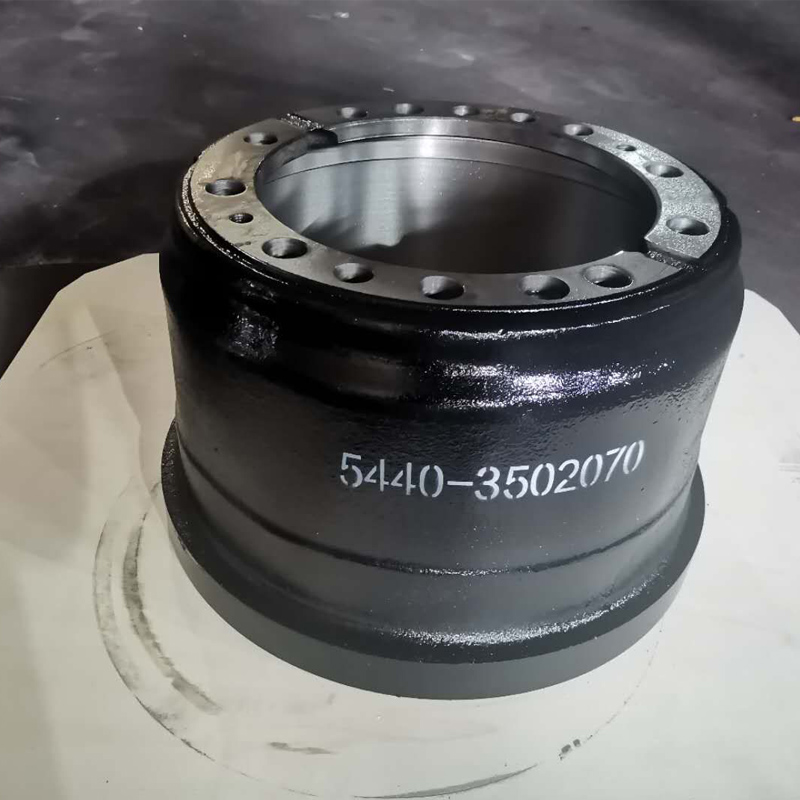
Removing a seized brake drum can be a challenging task, even for seasoned mechanics. It's a situation many encounter in automotive maintenance, especially when dealing with older vehicles. However, understanding the process and using the right tools can make the task manageable and safe. This article will take you through a step-by-step guide on how to effectively remove a seized brake drum, providing insights into product recommendations that can enhance your experience and efficiency.
3. Gently Tap with a Rubber Mallet - Tap the brake drum circumferentially with a rubber mallet to break the bond rust has created. Avoid using a steel hammer as it may damage the drum. - If the drum doesn’t loosen easily, avoid excessive force to prevent cracking or warping. 4. Brake Drum Puller - If tapping does not work, employ a brake drum puller tool. Attach it to the drum securely. - Tighten the puller gradually to avoid cracking the drum. The consistent pressure should slowly pull the drum free from the hub. - Listen for any sharp popping sounds which indicate the drum detaching. 5. Inspect the Brake Components - Once the drum is removed, inspect the brake shoes and other components for wear or damage. Replace as necessary. - Clean the hub and drum surface thoroughly to remove any remaining rust or debris. 6. Application of Anti-Seize - Before reassembling, apply a thin layer of anti-seize lubricant on the hub and the inside surface of the drum. This will prevent future seizing and facilitate easy removal in future maintenance. 7. Reassembly - Carefully reposition the brake drum and reattach the wheel. - Lower the vehicle from the jack stands safely once the wheel is secure. Preventive Measures To avoid the issue of a seized brake drum in the future, regular maintenance and checks are vital. Drive your vehicle periodically to prevent rust from setting in, especially in humid environments. Additionally, periodic application of anti-seize lubricant during brake service can prevent future occurrences. Choosing the right products and following a systematic approach to tackle a seized brake drum not only saves time but ensures safety and extends the life of your vehicle’s braking components. Investing in quality tools and protective lubricants can simplify the process significantly. Remember, patience and precision are key to a successful outcome.

3. Gently Tap with a Rubber Mallet - Tap the brake drum circumferentially with a rubber mallet to break the bond rust has created. Avoid using a steel hammer as it may damage the drum. - If the drum doesn’t loosen easily, avoid excessive force to prevent cracking or warping. 4. Brake Drum Puller - If tapping does not work, employ a brake drum puller tool. Attach it to the drum securely. - Tighten the puller gradually to avoid cracking the drum. The consistent pressure should slowly pull the drum free from the hub. - Listen for any sharp popping sounds which indicate the drum detaching. 5. Inspect the Brake Components - Once the drum is removed, inspect the brake shoes and other components for wear or damage. Replace as necessary. - Clean the hub and drum surface thoroughly to remove any remaining rust or debris. 6. Application of Anti-Seize - Before reassembling, apply a thin layer of anti-seize lubricant on the hub and the inside surface of the drum. This will prevent future seizing and facilitate easy removal in future maintenance. 7. Reassembly - Carefully reposition the brake drum and reattach the wheel. - Lower the vehicle from the jack stands safely once the wheel is secure. Preventive Measures To avoid the issue of a seized brake drum in the future, regular maintenance and checks are vital. Drive your vehicle periodically to prevent rust from setting in, especially in humid environments. Additionally, periodic application of anti-seize lubricant during brake service can prevent future occurrences. Choosing the right products and following a systematic approach to tackle a seized brake drum not only saves time but ensures safety and extends the life of your vehicle’s braking components. Investing in quality tools and protective lubricants can simplify the process significantly. Remember, patience and precision are key to a successful outcome.
Latest news
-
Brake Drum for Kamaz Trucks Durable OEM Replacement & High Performance
NewsMay.30,2025
-
Brake Drum Man High-Quality Drum Brake & Shoe Solutions
NewsMay.30,2025
-
High-Performance Brake Drum for Kamaz Trucks Durable Drum Brake Components
NewsMay.29,2025
-
Brake Drum Man High-Quality Drum Brake Drums & Brake Shoes
NewsMay.29,2025
-
Brake Drum MAZ High-Performance & Durable Replacement Parts
NewsMay.29,2025
-
heavy truck brake drums
NewsMar.07,2025