
2 月 . 16, 2025 03:34 Back to list
how to replace rear brake drums and shoes
Replacing rear brake drums and shoes is a task that requires both precision and patience, especially if you’re striving for a flawless performance on the road. Drawing insights from years of hands-on experience and technical expertise, this guide provides a comprehensive step-by-step approach to executing this mechanical endeavor with confidence and authority.
4. Cleaning and Preparation Clean all removed parts and the backing plate using a brake cleaner to remove dust and debris. Apply a small amount of high-temperature brake grease to the points where the shoes rest on the backing plate to ensure smooth operation. 5. Installation of New Brake Shoes Install the new brake shoes by reversing the order of removal. Start by attaching the shoes to the adjuster, then position them on the backing plate and secure them using the hold-down springs and pins. Use the brake spring tool to reattach the return springs. Double-check your photos to ensure everything is positioned correctly. 6. Adjust the Brake Shoes Manually adjust the star wheel on the adjuster to expand the brake shoes outward until they lightly contact the drum. Avoid over-expanding, as this can cause the brakes to drag. 7. Reattach the Brake Drum and Wheel Position the brake drum back onto the hub and ensure it rotates freely without excessive resistance. Reinstall the wheels, hand-tighten the lug nuts, lower the vehicle and then fully tighten the lug nuts in a star pattern to ensure even distribution of pressure. 8. Final Checks and Testing Pump the brake pedal several times to ensure the shoes are properly seated. Test drive the vehicle cautiously, listening for any unusual noises and testing the brakes’ responsiveness. Conclusively, replacing rear brake drums and shoes demands meticulousness and diligence. However, by approaching the task with informed expertise, as outlined herein, one can assure both the safety and efficacy of their vehicle’s braking system. Whether for a DIY enthusiast or a professional mechanic, adhering to these practices not only reinforces trustworthiness and credibility but also contributes to extending the lifecycle of your vehicle’s brake components, ensuring they perform at optimal capacity.
4. Cleaning and Preparation Clean all removed parts and the backing plate using a brake cleaner to remove dust and debris. Apply a small amount of high-temperature brake grease to the points where the shoes rest on the backing plate to ensure smooth operation. 5. Installation of New Brake Shoes Install the new brake shoes by reversing the order of removal. Start by attaching the shoes to the adjuster, then position them on the backing plate and secure them using the hold-down springs and pins. Use the brake spring tool to reattach the return springs. Double-check your photos to ensure everything is positioned correctly. 6. Adjust the Brake Shoes Manually adjust the star wheel on the adjuster to expand the brake shoes outward until they lightly contact the drum. Avoid over-expanding, as this can cause the brakes to drag. 7. Reattach the Brake Drum and Wheel Position the brake drum back onto the hub and ensure it rotates freely without excessive resistance. Reinstall the wheels, hand-tighten the lug nuts, lower the vehicle and then fully tighten the lug nuts in a star pattern to ensure even distribution of pressure. 8. Final Checks and Testing Pump the brake pedal several times to ensure the shoes are properly seated. Test drive the vehicle cautiously, listening for any unusual noises and testing the brakes’ responsiveness. Conclusively, replacing rear brake drums and shoes demands meticulousness and diligence. However, by approaching the task with informed expertise, as outlined herein, one can assure both the safety and efficacy of their vehicle’s braking system. Whether for a DIY enthusiast or a professional mechanic, adhering to these practices not only reinforces trustworthiness and credibility but also contributes to extending the lifecycle of your vehicle’s brake components, ensuring they perform at optimal capacity.
Latest news
-
Brake Drum for Kamaz Trucks Durable OEM Replacement & High Performance
NewsMay.30,2025
-
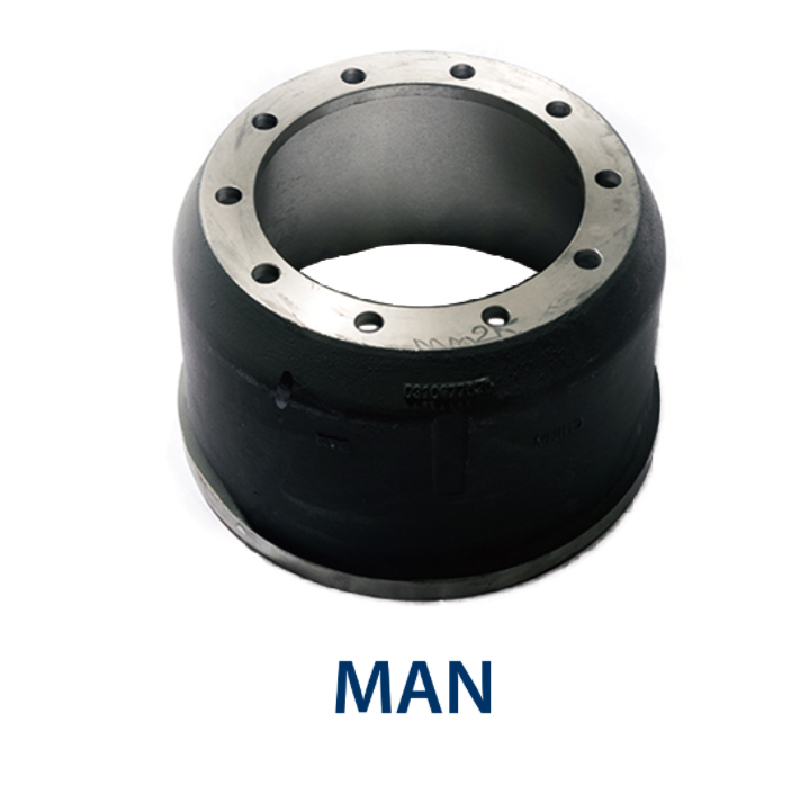
Brake Drum Man High-Quality Drum Brake & Shoe Solutions
NewsMay.30,2025
-
High-Performance Brake Drum for Kamaz Trucks Durable Drum Brake Components
NewsMay.29,2025
-
Brake Drum Man High-Quality Drum Brake Drums & Brake Shoes
NewsMay.29,2025
-
Brake Drum MAZ High-Performance & Durable Replacement Parts
NewsMay.29,2025
-
heavy truck brake drums
NewsMar.07,2025