12 月 . 05, 2024 21:28 Back to list
A Step-by-Step Guide to Removing Brake Drums Efficiently
How to Take Off a Brake Drum A Step-by-Step Guide
Removing a brake drum can seem like a daunting task, especially for those unfamiliar with automotive maintenance. However, with the right tools and a little patience, you can successfully take off a brake drum by following these straightforward steps. This guide will help you understand the process, ensuring you do it safely and effectively.
Tools and Materials Needed
Before starting, gather the necessary tools and materials - Jack and jack stands - Lug wrench - Brake drum puller (if necessary) - Screwdrivers (flat-head and Phillips) - Pliers - Clean cloth - Brake cleaner - Safety goggles and gloves
Step 1 Ensure Safety
Before you begin, make sure your vehicle is parked on a flat surface. Engage the parking brake to prevent any movement. Put on your safety goggles and gloves to protect yourself from grime and sharp edges.
Step 2 Loosen Lug Nuts
Using a lug wrench, slightly loosen the lug nuts on the wheel associated with the brake drum you plan to remove. Do this while the wheel is still on the ground to prevent it from spinning. Don’t remove the lug nuts yet; just break their initial torque.
Step 3 Lift the Vehicle
Next, use a jack to elevate the vehicle. Position the jack under the manufacturer’s recommended jacking point and lift the car until the wheel is off the ground. Once elevated, place jack stands beneath the vehicle for additional safety.
Step 4 Remove the Wheel
Now that the vehicle is securely lifted, remove the lug nuts completely and take off the wheel. Set it aside in a safe location. This will expose the brake drum.
Step 5 Inspect the Brake Drum
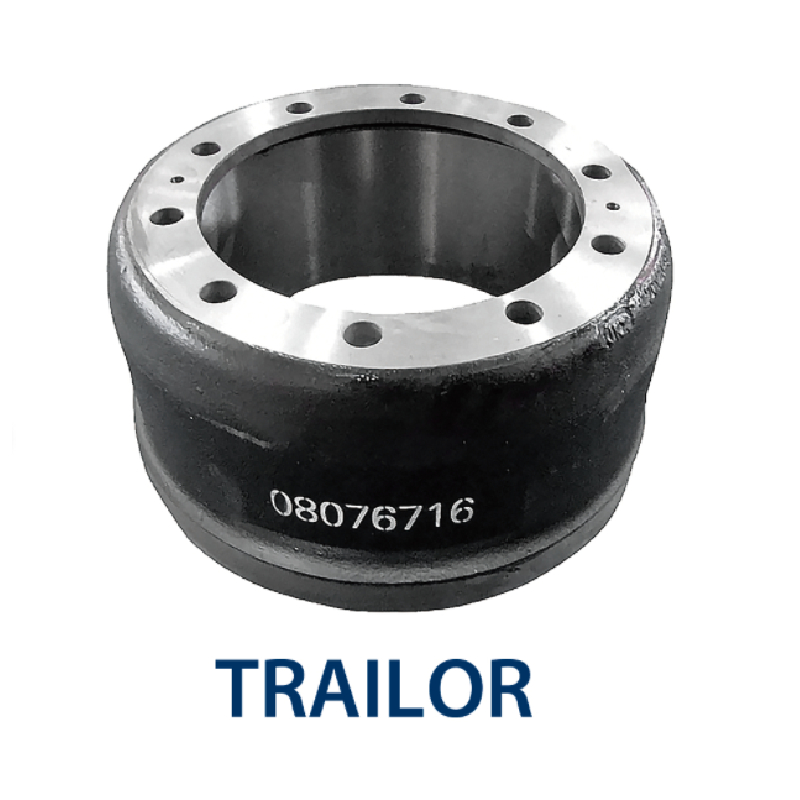
how to take off brake drum

Before removing the drum, visually inspect it for any visible damage or wear. Check for cracks, warping, or other signs of excessive wear. If the drum appears to be in good condition, you can proceed with the removal.
Step 6 Remove the Brake Drum
1. Check for Retaining Screws Some brake drums have retaining screws that need to be removed first. If your drum has these, use a screwdriver to take them out. 2. Use a Brake Drum Puller (if necessary) If the drum is stuck due to rust or corrosion, a brake drum puller may be necessary. Position the puller on the drum, and tighten it gradually, which will pull the drum off the hub.
3. Manual Pulling If the drum is not stuck, simply pull it straight off the wheel hub. You may need to tap it lightly with a rubber mallet if it’s stuck. Avoid using a metallic hammer, as it can damage the drum.
Step 7 Check Components
With the brake drum removed, take the opportunity to inspect the brake shoes, springs, and other components. Look for signs of wear or damage. If the shoes are worn down, it might be time to replace them. Clean any debris with brake cleaner.
Step 8 Reinstallation
When it’s time to reinstall the brake drum or replace it, ensure all components are clean and in good condition. Align the drum onto the hub and press it into place until it sits flush. Reattach any retaining screws if applicable.
Step 9 Reattach the Wheel
Slide the wheel back onto the hub and hand-tighten the lug nuts. Once they are secured, lower the vehicle back to the ground and then fully tighten the lug nuts in a crisscross pattern to ensure even pressure.
Conclusion
Taking off a brake drum is a valuable skill for any car owner or DIY enthusiast. Following these steps will make the process smoother and safer. Always remember to wear protective gear and ensure your vehicle is secure throughout the procedure. If you encounter any difficulties or feel uncertain, don’t hesitate to consult a professional mechanic. Regular maintenance like this can help prolong the life of your brake system and ensure safe driving.
-
Brake Drum for Kamaz Trucks Durable OEM Replacement & High Performance
NewsMay.30,2025
-
Brake Drum Man High-Quality Drum Brake & Shoe Solutions
NewsMay.30,2025
-
High-Performance Brake Drum for Kamaz Trucks Durable Drum Brake Components
NewsMay.29,2025
-
Brake Drum Man High-Quality Drum Brake Drums & Brake Shoes
NewsMay.29,2025
-
Brake Drum MAZ High-Performance & Durable Replacement Parts
NewsMay.29,2025
-
heavy truck brake drums
NewsMar.07,2025
