
2 月 . 18, 2025 12:41 Back to list
isuzu npr hd rear brake drum removal
Removing the rear brake drum from an Isuzu NPR HD can be an intensive task, especially if you're aiming for precision and efficiency. As an expert in automotive maintenance and repair, I understand the nuances involved in dealing with truck brake systems. This guide provides a seamless, step-by-step approach to tackle this process efficiently and safely.
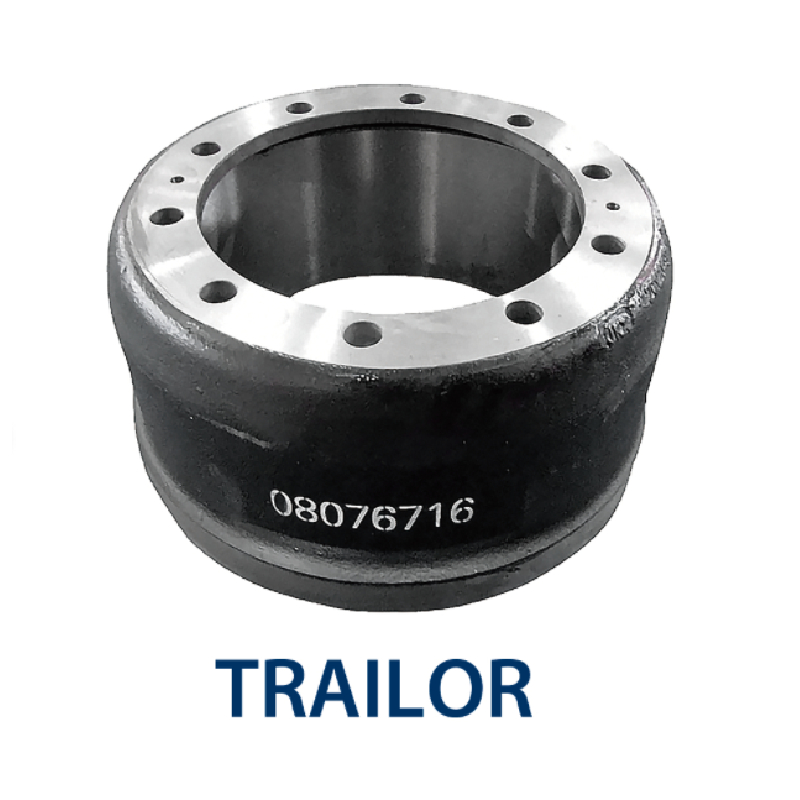
Once the brake drum loosens, carefully wiggle and pull it off the hub assembly. If the drum resists, repeat the vibration method or revisit the adjuster. Upon successful removal, inspect the drum's condition for any signs of wear, cracking, or scoring. Additionally, check the brake shoes, return springs, and other components to ensure no part requires replacement. Taking care of your brake system is not just about removing and replacing parts; it's about ensuring each component works in concert for the best vehicular performance. Clean off any brake dust or debris using a brake cleaner. Do so in a well-ventilated area, wearing a mask and gloves to prevent inhalation. Replace any worn or damaged parts before reattaching the brake drum. Install the drum by aligning it properly with the wheel studs and sliding it back into position over the shoes. You may need to adjust the star wheel again to ensure a snug fit between the shoes and the drum. Proper adjustment is critical for optimal braking performance and safety on the road. Reinstall the wheel and hand-tighten the lug nuts. Lower the vehicle carefully, removing the jack stands and allowing the truck to rest safely on the ground. Finally, conduct a brake system test. While the vehicle is stationary, carefully step on the brake pedal to check for firmness and consistency, indicating a successful operation. By adhering to these instructions, you ensure the removal and reinstallation process is executed with expertise and precision. It's crucial to maintain regular brake inspections and servicing schedules as part of your vehicle care routine. Relying on professional guidance and tested practices not only extends the lifespan of your truck components but also fortifies road safety for everyone.
Once the brake drum loosens, carefully wiggle and pull it off the hub assembly. If the drum resists, repeat the vibration method or revisit the adjuster. Upon successful removal, inspect the drum's condition for any signs of wear, cracking, or scoring. Additionally, check the brake shoes, return springs, and other components to ensure no part requires replacement. Taking care of your brake system is not just about removing and replacing parts; it's about ensuring each component works in concert for the best vehicular performance. Clean off any brake dust or debris using a brake cleaner. Do so in a well-ventilated area, wearing a mask and gloves to prevent inhalation. Replace any worn or damaged parts before reattaching the brake drum. Install the drum by aligning it properly with the wheel studs and sliding it back into position over the shoes. You may need to adjust the star wheel again to ensure a snug fit between the shoes and the drum. Proper adjustment is critical for optimal braking performance and safety on the road. Reinstall the wheel and hand-tighten the lug nuts. Lower the vehicle carefully, removing the jack stands and allowing the truck to rest safely on the ground. Finally, conduct a brake system test. While the vehicle is stationary, carefully step on the brake pedal to check for firmness and consistency, indicating a successful operation. By adhering to these instructions, you ensure the removal and reinstallation process is executed with expertise and precision. It's crucial to maintain regular brake inspections and servicing schedules as part of your vehicle care routine. Relying on professional guidance and tested practices not only extends the lifespan of your truck components but also fortifies road safety for everyone.
Latest news
-
Brake Drum for Kamaz Trucks Durable OEM Replacement & High Performance
NewsMay.30,2025
-
Brake Drum Man High-Quality Drum Brake & Shoe Solutions
NewsMay.30,2025
-
High-Performance Brake Drum for Kamaz Trucks Durable Drum Brake Components
NewsMay.29,2025
-
Brake Drum Man High-Quality Drum Brake Drums & Brake Shoes
NewsMay.29,2025
-
Brake Drum MAZ High-Performance & Durable Replacement Parts
NewsMay.29,2025
-
heavy truck brake drums
NewsMar.07,2025