
2 月 . 18, 2025 09:02 Back to list
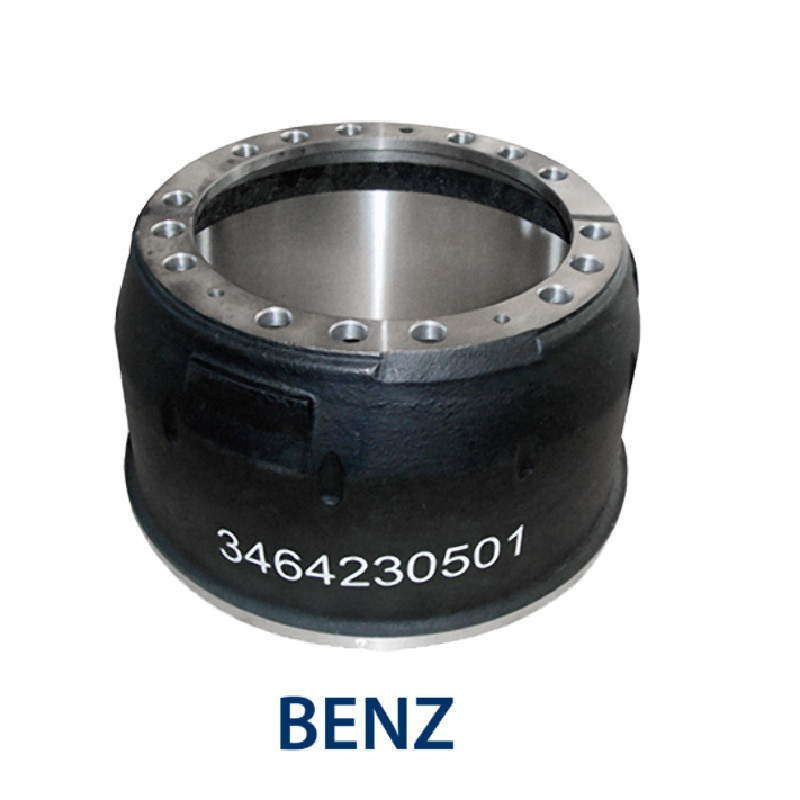
mitsubishi canter rear brake drum removal
Removing the rear brake drum from a Mitsubishi Canter can seem daunting, especially if you have limited mechanical experience. Fortunately, the process is straightforward when approached with careful attention to detail and safety. Mastering this task not only enhances your vehicle maintenance skills but also extends the lifespan of your vehicle’s braking system, ensuring safer driving conditions.
If the brake drum shows resistance due to internal tension from the brake shoes, locate the drum’s adjustment slot, which is typically on the backing plate’s rear. Using a brake adjuster tool, turn the star wheel to retract the brake shoes, reducing pressure on the drum. Be mindful of the star wheel’s direction to ensure it loosens rather than tightens. Upon successful removal, inspect the brake drum and shoes for signs of wear or damage. If the drum displays significant scoring or substantial wear, replacement is recommended. Similarly, if the brake shoes exhibit excessive wear, replacing them will enhance braking performance and safety. Before reassembly, clean the drum’s interior surface using brake cleaner, ensuring the absence of grease or debris. After cleaning, reverse the removal process, starting by adjusting the brake shoes back to their proper alignment with the star wheel, ensuring a snug fit without overtightening. Reattach the wheel, tightening the lug nuts by hand initially and securing them with a torque wrench once the vehicle is lowered to the ground. This step guarantees even distribution and prevents wheel warping. Finally, remove the wheel chocks, disengage the parking brake, and test the brakes at low speed to confirm proper function and adjustment. Regular maintenance of the brake system, including periodic inspections and replacements when needed, is paramount for ensuring safety and longevity. By mastering the removal and inspection process of the Mitsubishi Canter's rear brake drum, you prove not only your mechanical prowess but also establish a commitment to vehicle safety and dependability. Becoming proficient in these tasks can also reinforce your credibility as an authoritative figure in automotive maintenance—whether for personal satisfaction or professional advancement. Remember, when in doubt, consulting the vehicle’s service manual or seeking advice from a qualified mechanic can provide additional reassurance and guidance. As with any automotive maintenance, patience and precision are key components to success.

If the brake drum shows resistance due to internal tension from the brake shoes, locate the drum’s adjustment slot, which is typically on the backing plate’s rear. Using a brake adjuster tool, turn the star wheel to retract the brake shoes, reducing pressure on the drum. Be mindful of the star wheel’s direction to ensure it loosens rather than tightens. Upon successful removal, inspect the brake drum and shoes for signs of wear or damage. If the drum displays significant scoring or substantial wear, replacement is recommended. Similarly, if the brake shoes exhibit excessive wear, replacing them will enhance braking performance and safety. Before reassembly, clean the drum’s interior surface using brake cleaner, ensuring the absence of grease or debris. After cleaning, reverse the removal process, starting by adjusting the brake shoes back to their proper alignment with the star wheel, ensuring a snug fit without overtightening. Reattach the wheel, tightening the lug nuts by hand initially and securing them with a torque wrench once the vehicle is lowered to the ground. This step guarantees even distribution and prevents wheel warping. Finally, remove the wheel chocks, disengage the parking brake, and test the brakes at low speed to confirm proper function and adjustment. Regular maintenance of the brake system, including periodic inspections and replacements when needed, is paramount for ensuring safety and longevity. By mastering the removal and inspection process of the Mitsubishi Canter's rear brake drum, you prove not only your mechanical prowess but also establish a commitment to vehicle safety and dependability. Becoming proficient in these tasks can also reinforce your credibility as an authoritative figure in automotive maintenance—whether for personal satisfaction or professional advancement. Remember, when in doubt, consulting the vehicle’s service manual or seeking advice from a qualified mechanic can provide additional reassurance and guidance. As with any automotive maintenance, patience and precision are key components to success.
Latest news
-
Brake Drum for Kamaz Trucks Durable OEM Replacement & High Performance
NewsMay.30,2025
-
Brake Drum Man High-Quality Drum Brake & Shoe Solutions
NewsMay.30,2025
-
High-Performance Brake Drum for Kamaz Trucks Durable Drum Brake Components
NewsMay.29,2025
-
Brake Drum Man High-Quality Drum Brake Drums & Brake Shoes
NewsMay.29,2025
-
Brake Drum MAZ High-Performance & Durable Replacement Parts
NewsMay.29,2025
-
heavy truck brake drums
NewsMar.07,2025