12 月 . 03, 2024 17:40 Back to list
removing a brake drum
Removing a Brake Drum A Step-by-Step Guide
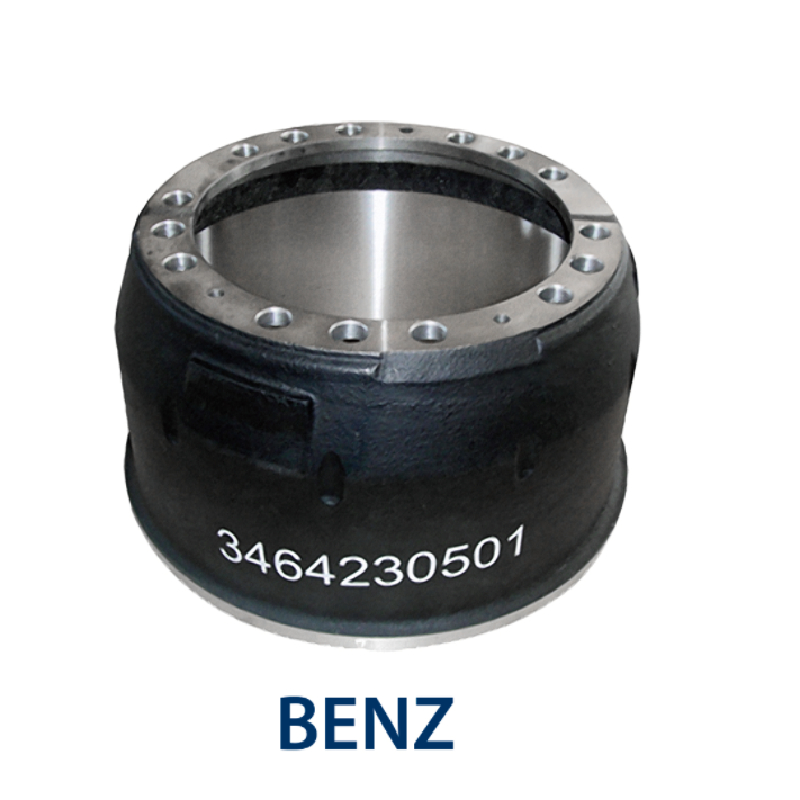
Brake systems are crucial for the safety and performance of any vehicle. Among the various components of a brake system, the brake drum plays a significant role. If you're experiencing issues such as unusual noises or reduced braking performance, it may be time to check or replace the brake drum. Removing a brake drum can seem daunting, but with the right tools and guidance, you can tackle this task with confidence. Here’s a step-by-step guide to help you safely and effectively remove a brake drum.
Tools and Materials Needed
Before starting the process, gather the necessary tools and materials
1. Jack and jack stands To lift the vehicle securely. 2. Lug wrench For removing the wheel. 3. Brake drum removal tool This is optional but can make the job easier. 4. Hammer For gentle taps if the drum is stuck. 5. Safety glasses To protect your eyes. 6. Gloves To keep your hands clean and safe. 7. Shop towels For wiping off any grease or dirt.
Safety First
Before diving into the task, ensure you are working in a well-ventilated area and on a flat surface to prevent accidents. Engage the parking brake and wear safety glasses and gloves for protection.
Step 1 Lift the Vehicle
Use the jack to lift the front or rear of the vehicle, depending on which brake drum you are removing. Secure the vehicle with jack stands to ensure it remains stable while you work. Remember to check that the vehicle is in gear or in park mode to prevent rolling.
Step 2 Remove the Wheel
Use the lug wrench to loosen and remove the lug nuts from the wheel covering the brake drum. Place the lug nuts in a safe location to avoid losing them. Once the nuts are removed, take off the wheel to expose the brake drum.
Step 3 Inspect the Brake Drum
removing a brake drum

Before removing the drum, it's wise to inspect it for any visible issues like cracks, wear, or scoring. This inspection can help determine if the drum needs replacement or if you can simply service it.
Step 4 Prepare to Remove the Drum
The brake drum may be held in place by a retaining screw or may just be stubborn due to rust or buildup. If there's a retaining screw, remove it. If the drum appears stuck, try using a brake drum removal tool or gently tap around the drum with a hammer to loosen it. Be careful not to damage any nearby components.
Step 5 Remove the Brake Drum
Once the drum is free, you can slide it off the wheel hub. If it doesn’t come off easily, continue to tap gently around the edges while pulling it outward. If you encounter significant resistance, ensure there isn’t any braking hardware (like springs or hold-downs) preventing the removal.
Step 6 Inspect and Clean
After successfully removing the brake drum, take a moment to inspect the brake shoes and the drum's interior. Look for signs of wear, such as uneven surfaces or deposits. Clean the inside of the drum with brake cleaner to remove dust and debris, and check the shoes for proper alignment and tension.
Step 7 Reassembly
If you are replacing the brake drum, reverse the steps to install the new component. Make sure to reattach any retaining screws if applicable. After putting the wheel back on, remember to tighten the lug nuts in a star pattern to ensure an even fit.
Conclusion
Removing a brake drum is a manageable task with the right preparation and tools. By following these steps, you can ensure that your brake system remains in optimal condition, enhancing both your vehicle’s safety and performance. If you’re uncertain at any point, do not hesitate to consult a professional mechanic to ensure everything is done correctly.
-
Brake Drum for Kamaz Trucks Durable OEM Replacement & High Performance
NewsMay.30,2025
-
Brake Drum Man High-Quality Drum Brake & Shoe Solutions
NewsMay.30,2025
-
High-Performance Brake Drum for Kamaz Trucks Durable Drum Brake Components
NewsMay.29,2025
-
Brake Drum Man High-Quality Drum Brake Drums & Brake Shoes
NewsMay.29,2025
-
Brake Drum MAZ High-Performance & Durable Replacement Parts
NewsMay.29,2025
-
heavy truck brake drums
NewsMar.07,2025
