12 月 . 04, 2024 09:40 Back to list
removing stuck brake drum
Removing Stuck Brake Drum A Comprehensive Guide
When it comes to vehicle maintenance, one of the most challenging tasks that many car owners encounter is removing a stuck brake drum. Brake drums can become stubbornly stuck due to corrosion, rust, or simply due to the wear and tear that comes from years of use. This article will guide you through the process of safely and effectively removing a stuck brake drum, ensuring that you get the job done without damaging your vehicle or injuring yourself.
Understanding Brake Drums
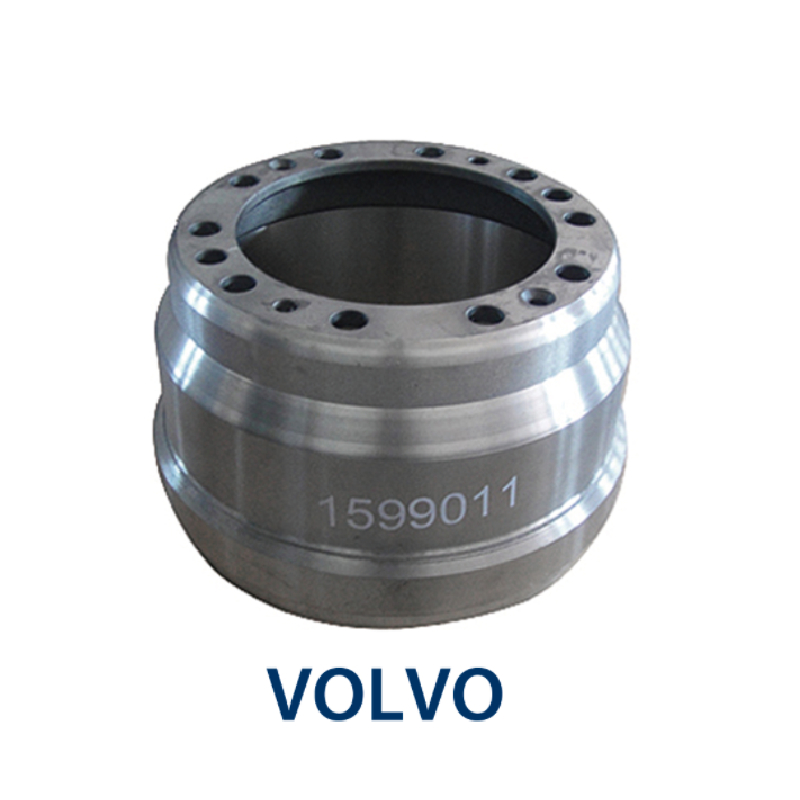
Before jumping into the removal process, it is crucial to understand what brake drums are and how they function. Brake drums are part of the braking system that houses brake shoes. When you press the brake pedal, the brake shoes expand against the inside of the drum, creating friction that slows down the vehicle. Over time, due to heat, moisture, and dirt, the brake drums can get corroded or rusted, making removal difficult.
Tools You'll Need
To successfully remove a stuck brake drum, gather the following tools
1. Basic Hand Tools A wrench set, ratchet, and socket set. 2. Brake Drum Puller This is essential for removing the drum without damage. 3. Hammer A rubber mallet is preferable, as it will prevent damage to the drum. 4. Rust Penetrant Products like WD-40 or PB Blaster can help to loosen rusted components. 5. Protective Gear Always wear safety goggles and gloves when working on your vehicle.
Step-by-Step Process
1. Safety First Begin by parking your vehicle on a level surface and engaging the parking brake. Loosen the lug nuts on the wheel but do not remove them completely yet.
removing stuck brake drum

2. Raise the Vehicle Using a hydraulic jack, lift the vehicle and secure it with jack stands for safety. Remove the lug nuts and take off the wheel to expose the brake drum.
3. Inspect and Apply Penetrant Examine the drum for visible signs of rust or corrosion. Spray a generous amount of rust penetrant around the edges of the brake drum and let it sit for at least 15 minutes to allow the solution to soak in.
4. Remove the Adjuster Access Plug Look for the adjuster access plug on the brake backing plate. Removing this plug will allow you to access the brake adjustment mechanism. Use a flathead screwdriver to turn the adjuster and retract the brake shoes, which may release some of the tension on the drum.
5. Tap the Drum Using a rubber mallet, gently tap around the circumference of the drum. This can help dislodge any rust or corrosion that may be causing it to stick.
6. Use a Brake Drum Puller If tapping isn’t enough, use a brake drum puller. Position the puller on the drum and slowly turn the bolt to apply even pressure. The drum should begin to move. Be patient and check for movement frequently to avoid excessive pressure that could damage the brake components.
7. Final Removal Once the drum is loosened, it should slide off with some effort. If it still doesn’t budge, repeat the tapping and application of the rust penetrant as necessary.
8. Inspect Components After successfully removing the drum, inspect the brake shoes, springs, and wheel cylinder for wear or damage. This is an excellent opportunity for maintenance and replacement if necessary.
Conclusion
Removing a stuck brake drum can be a frustrating task, but with patience and the right tools, it can be accomplished safely and effectively. Always remember to check for any signs of wear and take preventive measures, such as regular cleaning and inspections, to help avoid this issue in the future. By following these steps, you'll not only remove the stuck drum but also contribute to the overall longevity and safety of your vehicle's braking system. Happy wrenching!
-
Brake Drum for Kamaz Trucks Durable OEM Replacement & High Performance
NewsMay.30,2025
-
Brake Drum Man High-Quality Drum Brake & Shoe Solutions
NewsMay.30,2025
-
High-Performance Brake Drum for Kamaz Trucks Durable Drum Brake Components
NewsMay.29,2025
-
Brake Drum Man High-Quality Drum Brake Drums & Brake Shoes
NewsMay.29,2025
-
Brake Drum MAZ High-Performance & Durable Replacement Parts
NewsMay.29,2025
-
heavy truck brake drums
NewsMar.07,2025
