
2 月 . 15, 2025 16:51 Back to list
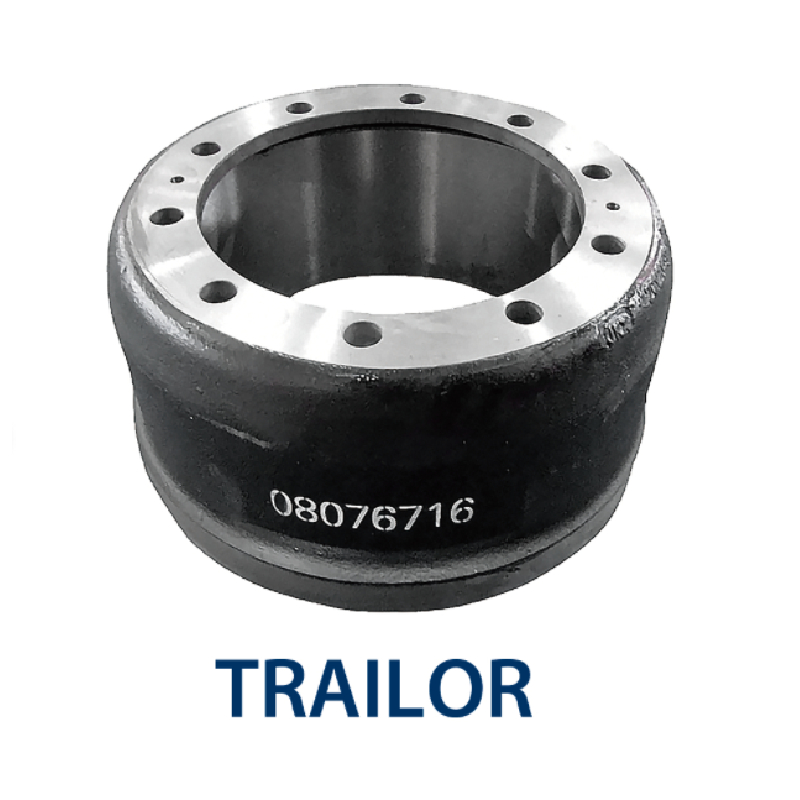
removing stuck rear brake drums
Rear brake drums can sometimes become stubbornly stuck, making removal a daunting task for many DIY mechanics. Having delved into this problem on numerous occasions, I can offer a comprehensive guide that combines practical experience, specialized knowledge, and trustworthiness to ensure a seamless process.
Another method involves a puller tool. A brake drum puller, which can often be rented from local auto parts stores, is specifically designed to provide even pulling pressure. Attach the puller to the drum and tighten it incrementally. Slow, steady pressure can gradually overcome even the most stubborn adhesion. Once the drum is off, it's an excellent time to assess the condition of the drum, brake shoes, and related hardware. Look for signs of wear, scoring, or other damage that might necessitate replacement. Cleaning with a brake cleaner can also help maintain the drum in good working condition for future use. An important part of this process is prevention. Regular maintenance can prevent a reoccurrence of the issue. Routine inspection, timely replacement of brake components, and the occasional application of anti-seize compound around the hub and drum interface can stop rust from building up. Furthermore, operating brakes gently to avoid excessive heat and wear contributes to the longevity of brake components. In conclusion, understanding the intricacies of removing stuck rear brake drums is invaluable to both novices and seasoned mechanics. This guide reflects years of practical experience and in-depth knowledge gathered from tackling this common automotive issue. By emphasizing trusted and proven methods, one can approach this seemingly daunting task with confidence and achieve not only a satisfactory outcome but also contribute to the overall safety and efficiency of the vehicle.

Another method involves a puller tool. A brake drum puller, which can often be rented from local auto parts stores, is specifically designed to provide even pulling pressure. Attach the puller to the drum and tighten it incrementally. Slow, steady pressure can gradually overcome even the most stubborn adhesion. Once the drum is off, it's an excellent time to assess the condition of the drum, brake shoes, and related hardware. Look for signs of wear, scoring, or other damage that might necessitate replacement. Cleaning with a brake cleaner can also help maintain the drum in good working condition for future use. An important part of this process is prevention. Regular maintenance can prevent a reoccurrence of the issue. Routine inspection, timely replacement of brake components, and the occasional application of anti-seize compound around the hub and drum interface can stop rust from building up. Furthermore, operating brakes gently to avoid excessive heat and wear contributes to the longevity of brake components. In conclusion, understanding the intricacies of removing stuck rear brake drums is invaluable to both novices and seasoned mechanics. This guide reflects years of practical experience and in-depth knowledge gathered from tackling this common automotive issue. By emphasizing trusted and proven methods, one can approach this seemingly daunting task with confidence and achieve not only a satisfactory outcome but also contribute to the overall safety and efficiency of the vehicle.
Latest news
-
Brake Drum for Kamaz Trucks Durable OEM Replacement & High Performance
NewsMay.30,2025
-
Brake Drum Man High-Quality Drum Brake & Shoe Solutions
NewsMay.30,2025
-
High-Performance Brake Drum for Kamaz Trucks Durable Drum Brake Components
NewsMay.29,2025
-
Brake Drum Man High-Quality Drum Brake Drums & Brake Shoes
NewsMay.29,2025
-
Brake Drum MAZ High-Performance & Durable Replacement Parts
NewsMay.29,2025
-
heavy truck brake drums
NewsMar.07,2025