7 月 . 10, 2024 08:40 Back to list
Steps for removing brake drums and changing brake shoes on a vehicle.
When it comes to maintaining your vehicle, one essential task is removing brake drums for inspection or replacement. While this task may seem daunting at first, with the right tools and step-by-step instructions, you can easily remove the brake drums yourself. Here is a guide on how to remove brake drums safely and efficiently
Step 1 Gather the necessary tools and materials
Before you start, make sure you have all the tools and materials you need to remove the brake drums. These may include a lug wrench, a jack, jack stands, a hammer, a flat-head screwdriver, and a pair of pliers. Additionally, you may need some penetrating oil to loosen any rust or debris that may be preventing the brake drums from coming off easily.
Step 2 Loosen the lug nuts
To begin, use the lug wrench to loosen the lug nuts on the wheel where you are removing the brake drum. It's important to do this step while the vehicle is still on the ground to prevent the wheel from spinning.
Step 3 Jack up the vehicle
Next, use the jack to lift the vehicle off the ground. Once the vehicle is securely raised, place jack stands underneath to support the weight of the vehicle and ensure safety.
Step 4 Remove the wheel
With the lug nuts loosened and the vehicle safely jacked up, remove the wheel from the hub and set it aside. This will give you better access to the brake drum.
Step 5 Inspect the brake drum
Before removing the brake drum, take a moment to inspect it for any signs of damage or wear. Look for cracks, grooves, or excessive wear on the surface of the drum. If you notice any of these issues, it may be time to replace the brake drums

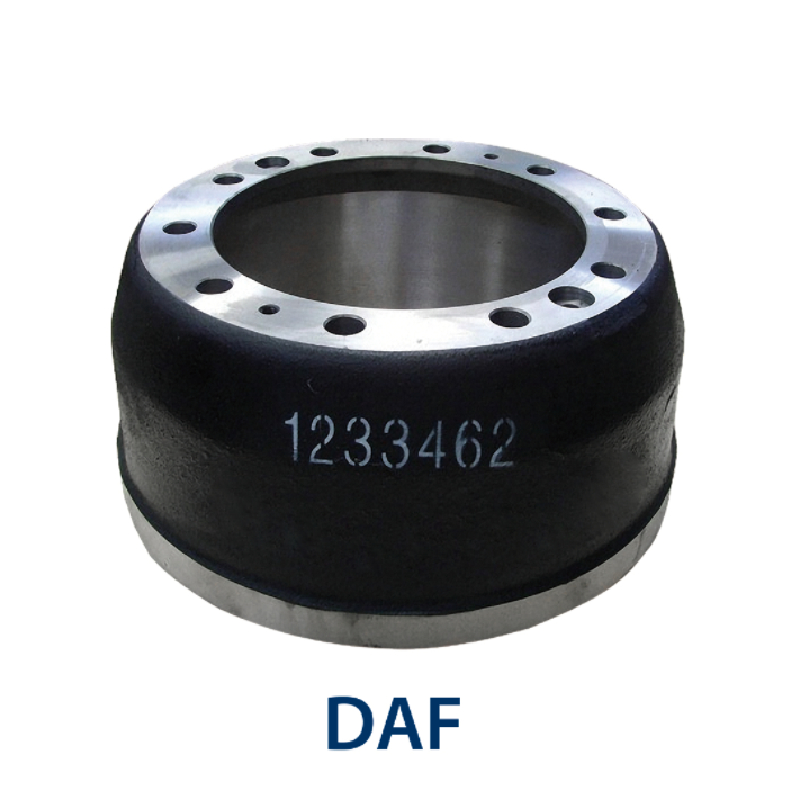
how to remove brake drums. Step 6 Remove the brake drum To remove the brake drum, locate the adjustment hole on the back of the drum. Insert a flat-head screwdriver into the hole and turn the adjuster screw until the brake shoes are fully retracted. This will loosen the brake drum and allow you to slide it off the hub. If the drum is stuck due to rust or debris, you can gently tap it with a hammer to loosen it. Be careful not to damage the drum or the surrounding components. Step 7 Inspect the brake components Once the brake drum is removed, take a moment to inspect the brake components, including the brake shoes, wheel cylinder, and springs. Look for any signs of wear or damage and replace any parts as needed. Step 8 Reassemble the brake system After inspecting the brake components, reassemble the brake system by installing the new brake drum and wheel. Tighten the lug nuts securely and lower the vehicle back to the ground. By following these steps, you can safely and effectively remove brake drums from your vehicle. Remember to always work carefully and follow proper safety precautions when working on your vehicle's braking system. If you are unsure or uncomfortable performing this task yourself, it's always best to seek the help of a professional mechanic.

how to remove brake drums. Step 6 Remove the brake drum To remove the brake drum, locate the adjustment hole on the back of the drum. Insert a flat-head screwdriver into the hole and turn the adjuster screw until the brake shoes are fully retracted. This will loosen the brake drum and allow you to slide it off the hub. If the drum is stuck due to rust or debris, you can gently tap it with a hammer to loosen it. Be careful not to damage the drum or the surrounding components. Step 7 Inspect the brake components Once the brake drum is removed, take a moment to inspect the brake components, including the brake shoes, wheel cylinder, and springs. Look for any signs of wear or damage and replace any parts as needed. Step 8 Reassemble the brake system After inspecting the brake components, reassemble the brake system by installing the new brake drum and wheel. Tighten the lug nuts securely and lower the vehicle back to the ground. By following these steps, you can safely and effectively remove brake drums from your vehicle. Remember to always work carefully and follow proper safety precautions when working on your vehicle's braking system. If you are unsure or uncomfortable performing this task yourself, it's always best to seek the help of a professional mechanic.
Latest news
-
Brake Drum for Kamaz Trucks Durable OEM Replacement & High Performance
NewsMay.30,2025
-
Brake Drum Man High-Quality Drum Brake & Shoe Solutions
NewsMay.30,2025
-
High-Performance Brake Drum for Kamaz Trucks Durable Drum Brake Components
NewsMay.29,2025
-
Brake Drum Man High-Quality Drum Brake Drums & Brake Shoes
NewsMay.29,2025
-
Brake Drum MAZ High-Performance & Durable Replacement Parts
NewsMay.29,2025
-
heavy truck brake drums
NewsMar.07,2025
