8 月 . 19, 2024 04:34 Back to list
Steps to Effectively Deglaze Brake Drums and Enhance Vehicle Performance
How to Deglaze Brake Drums A Step-by-Step Guide
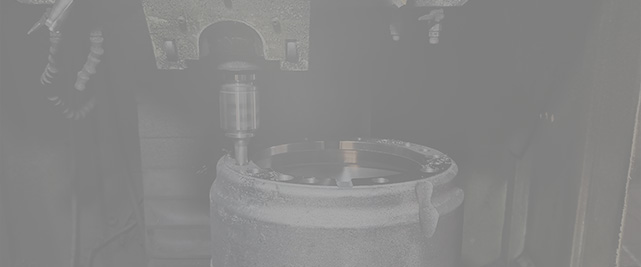
Deglazing brake drums is an essential maintenance task that can significantly improve the performance and longevity of your vehicle's braking system. Over time, brake drums can accumulate a layer of brake pad material, dust, and grime, which can lead to decreased braking efficiency and increased noise. This article will guide you through the process of deglazing brake drums effectively.
Understanding the Need for Deglazing
When you apply the brakes, friction is created between the brake pads and the brake drums. However, if the drums become glazed, a shiny and hard surface forms, resulting from excessive heat and wear. This glazing can lead to poor contact between the pads and drums, which compromises braking performance. Symptoms of glazed brake drums include squeaking, grinding, and a noticeable decrease in braking effectiveness. Regular maintenance, including deglazing, can help address these issues.
Tools and Materials Required
Before you start deglazing, gather the following tools and materials
1. Safety goggles and gloves 2. Brake cleaner or a degreaser 3. Sandpaper (preferably around 80 to 120 grit) 4. A sanding block 5. A rubber mallet 6. A torque wrench 7. C-clamp (if necessary) 8. A cleaning cloth 9. A jack and jack stands
Step-by-Step Deglazing Process
1. Safety First Before starting the process, ensure your vehicle is parked on a level surface and the ignition is turned off. Wear safety goggles and gloves for protection.
2. Raise the Vehicle Use a jack to lift the vehicle and secure it with jack stands. Make sure the car is stable before you crawl underneath.
how to deglaze brake drums

3. Remove the Wheel Using a lug wrench, remove the lug nuts and take off the wheel to access the brake drum.
4. Inspect the Brake System Before proceeding, inspect the brake pads and drums for wear. If the pads are worn out or the drums are damaged, consider replacing them instead of deglazing.
5. Remove the Brake Drum If necessary, use a rubber mallet to gently tap the brake drum to loosen it. Pay attention to any retaining clips that may need to be removed first.
6. Clean the Drum Spray brake cleaner or degreaser on the drum and wipe it clean with a cloth. This step removes dust and debris that could interfere with the deglazing process.
7. Deglaze the Drum Using a sanding block with 80 to 120 grit sandpaper, sand the surface of the brake drum in a circular motion. This technique helps to remove the shiny glaze and restore a roughened surface for better friction. Be careful not to sand too aggressively, as this could damage the drum.
8. Final Cleaning After sanding, clean the drum again with brake cleaner to remove any sanding dust. Ensure it's completely dry before reinstallation.
9. Reassemble Carefully reattach the brake drum. If your drum has adjustment features, make sure to set them correctly for optimal performance. Replace the wheel and lug nuts, tightening them according to the manufacturer’s specifications using a torque wrench.
10. Test Drive Once everything is reassembled and the vehicle is lowered, take it for a cautious test drive. Listen for any unusual noises and give the brakes a few light presses to ensure they are functioning effectively.
Conclusion
Deglazing brake drums is a relatively simple process that can restore your vehicle's braking performance and prolong the life of your brake components. Regular maintenance and inspections are key to ensuring your braking system remains in optimal condition. If you're uncertain about any step in the process, or if you notice significant wear or damage, it’s always wise to consult with a professional mechanic. Safe driving begins with a reliable braking system!
-
Brake Drum for Kamaz Trucks Durable OEM Replacement & High Performance
NewsMay.30,2025
-
Brake Drum Man High-Quality Drum Brake & Shoe Solutions
NewsMay.30,2025
-
High-Performance Brake Drum for Kamaz Trucks Durable Drum Brake Components
NewsMay.29,2025
-
Brake Drum Man High-Quality Drum Brake Drums & Brake Shoes
NewsMay.29,2025
-
Brake Drum MAZ High-Performance & Durable Replacement Parts
NewsMay.29,2025
-
heavy truck brake drums
NewsMar.07,2025
