8 月 . 01, 2024 02:37 Back to list
Steps to Safely Remove Brake Drums and Ensure Proper Maintenance for Your Vehicle
Removing Brake Drums A Comprehensive Guide
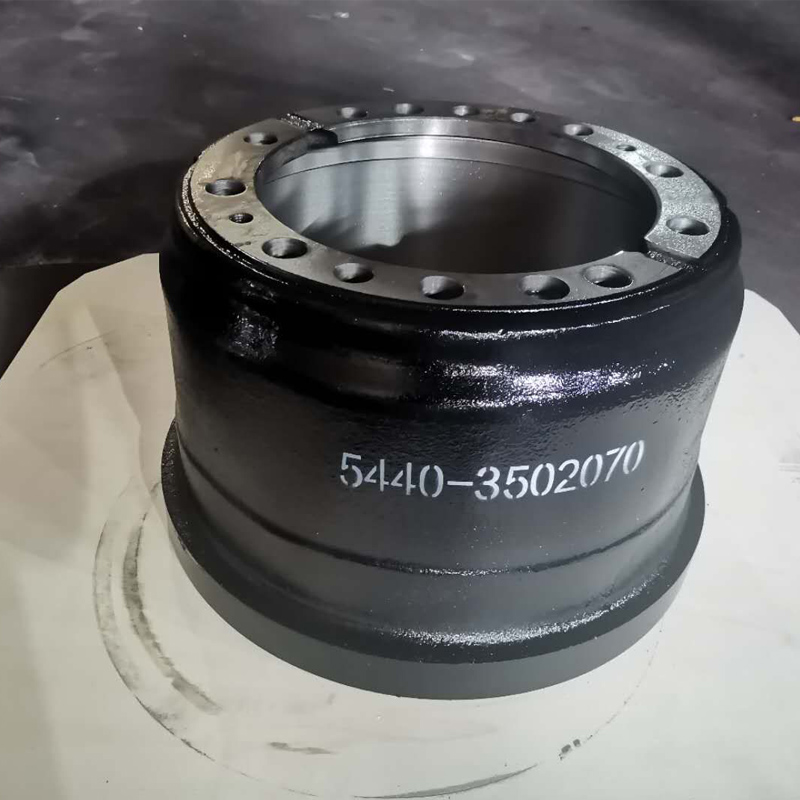
Brake drums are essential components of a vehicle’s braking system, primarily found in older models and some modern designs, especially in the rear brakes of trucks and SUVs. Over time, brake drums may become worn or damaged, necessitating their removal for inspection, servicing, or replacement. This article will provide a detailed overview of why and how to remove brake drums safely and effectively.
Understanding Brake Drums
Before diving into the removal process, it is vital to understand the function of brake drums. Unlike disc brakes, which use a rotor, brake drums work by using friction from brake shoes that press against the inside of the drum when the brake pedal is applied. Over time, brake drums can wear out due to heat and friction, leading to reduced braking efficiency and the potential for safety issues.
Tools Required
To successfully remove brake drums, you'll need a few essential tools - Jack and jack stands - Lug wrench - Brake drum puller (if necessary) - Screwdrivers (flathead and Phillips) - Hammer - Gloves and safety goggles
Safety First
Before beginning any work on your vehicle, ensure you have a safe working environment. Park the vehicle on a flat surface, engage the parking brake, and wear safety gear to protect yourself from any potential hazards.
Step-by-Step Removal Process
1. Loosen the Wheel Lug Nuts Use a lug wrench to loosen the lug nuts on the wheel covering the brake drum you intend to remove. It’s best to do this while the vehicle is still on the ground to prevent the wheel from spinning.
removing brake drums

2. Lift the Vehicle Use a jack to lift the vehicle and support it securely with jack stands. Ensure the vehicle is stable before proceeding.
3. Remove the Wheel Once elevated, finish removing the lug nuts and take off the wheel to expose the brake drum.
4. Inspect the Brake Drum Before removal, visually inspect the brake drum for any noticeable issues such as cracks or significant wear. Take notes on the condition, as you may need to order new parts.
5. Remove the Brake Drum In many cases, the brake drum will slide off easily. However, if it's stuck due to rust or corrosion, you may need to tap it gently with a hammer or use a brake drum puller. Be cautious not to damage the drum or surrounding components.
6. Check Brake Components With the drum removed, inspect the brake shoes and other components for wear. This is an optimal time to replace worn parts to ensure the braking system functions effectively.
7. Reinstallation If you are replacing the drum, ensure that all components are clean before installation. Slide the new drum onto the spindle hub, and reassemble by reversing the removal steps.
8. Test the Brakes After reassembly, pump the brakes a few times to ensure they are functioning correctly. Test-drive the vehicle at low speeds to confirm that the brakes engage properly.
Conclusion
Removing brake drums is a fundamental task that can significantly impact your vehicle's braking performance. Whether you’re conducting routine maintenance or addressing specific brake issues, following this comprehensive guide will help you navigate the removal process safely and efficiently. Always prioritize safety and consider consulting a professional mechanic if you encounter difficulties or are unsure about any steps. Regular maintenance of your braking system not only enhances performance but also ensures your safety on the road.
-
Brake Drum for Kamaz Trucks Durable OEM Replacement & High Performance
NewsMay.30,2025
-
Brake Drum Man High-Quality Drum Brake & Shoe Solutions
NewsMay.30,2025
-
High-Performance Brake Drum for Kamaz Trucks Durable Drum Brake Components
NewsMay.29,2025
-
Brake Drum Man High-Quality Drum Brake Drums & Brake Shoes
NewsMay.29,2025
-
Brake Drum MAZ High-Performance & Durable Replacement Parts
NewsMay.29,2025
-
heavy truck brake drums
NewsMar.07,2025
